Color Correcting 101:
How to Color Correct
You already know the magic that is concealer, but have you mastered the art of color correcting yet? Concealer is amazing for covering up areas of discoloration– such as dark circles– to even out your skin tone, but using a color corrector first can make all the difference. Color correctors come in a rainbow of colors (orange, pink, yellow, purple, green, and blue) so it can feel overwhelming to know which color corrector to use. To help you find the best color correctors for you, Maybelline New York has crafted this color-correcting guide that includes everything from how to color correct to where to put color corrector.

What is Color Correcting in Makeup?
Color correcting in makeup refers to the art of using color to disguise areas of discoloration. If you have varying shades of discoloration you need to cover, there are several colors of color correctors to choose from. For instance, if you have dark, purple almost black under-eye circles, you would want to counteract the purple by using a yellow color corrector.
What Color Corrector Shade Should You Use?
To figure out which color corrector shade you should use, you will need to consider what color you’re trying to conceal. A good rule of thumb: go for the opposite color of your discoloration. Much of the art of color-correcting is based on the color wheel and using the opposite color to the color you’re trying to “correct,” which is why you would use a yellow color corrector to neutralize purple. The idea is that you want to cancel out whatever color doesn’t match the rest of your skin tone. That’s why many soothing creams have a green tint to them because they help to disguise redness caused by irritation and sensitivity.
You’ll also want to take into consideration your skin tone, as fairer skin won’t necessarily benefit from the same shades as deeper skin and vice versa. This is especially true for color correctors that are super pigmented (either light or dark) and may show through your concealer. And if you think about it, there are usually differing concerns for different skin tones; redness is typically less of an issue for more melanated skin tones as it isn’t as visible as it is for someone with pale skin.
You’ll also want to take into consideration your skin tone, as fairer skin won’t necessarily benefit from the same shades as deeper skin and vice versa. This is especially true for color correctors that are super pigmented (either light or dark) and may show through your concealer. And if you think about it, there are usually differing concerns for different skin tones; redness is typically less of an issue for more melanated skin tones as it isn’t as visible as it is for someone with pale skin.
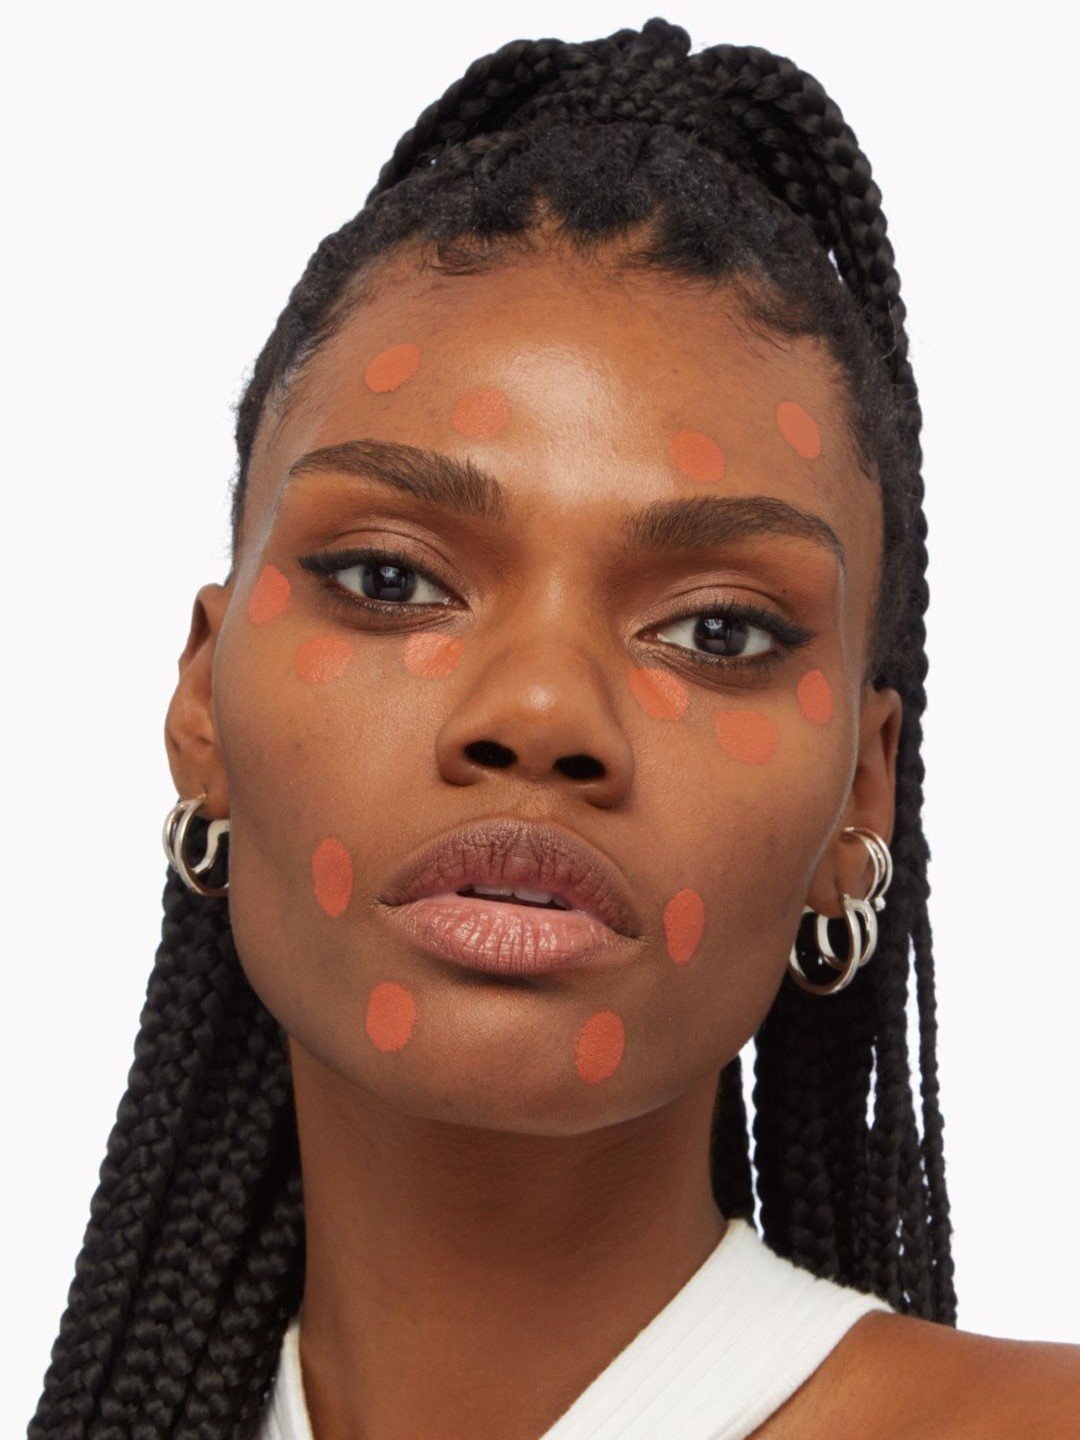
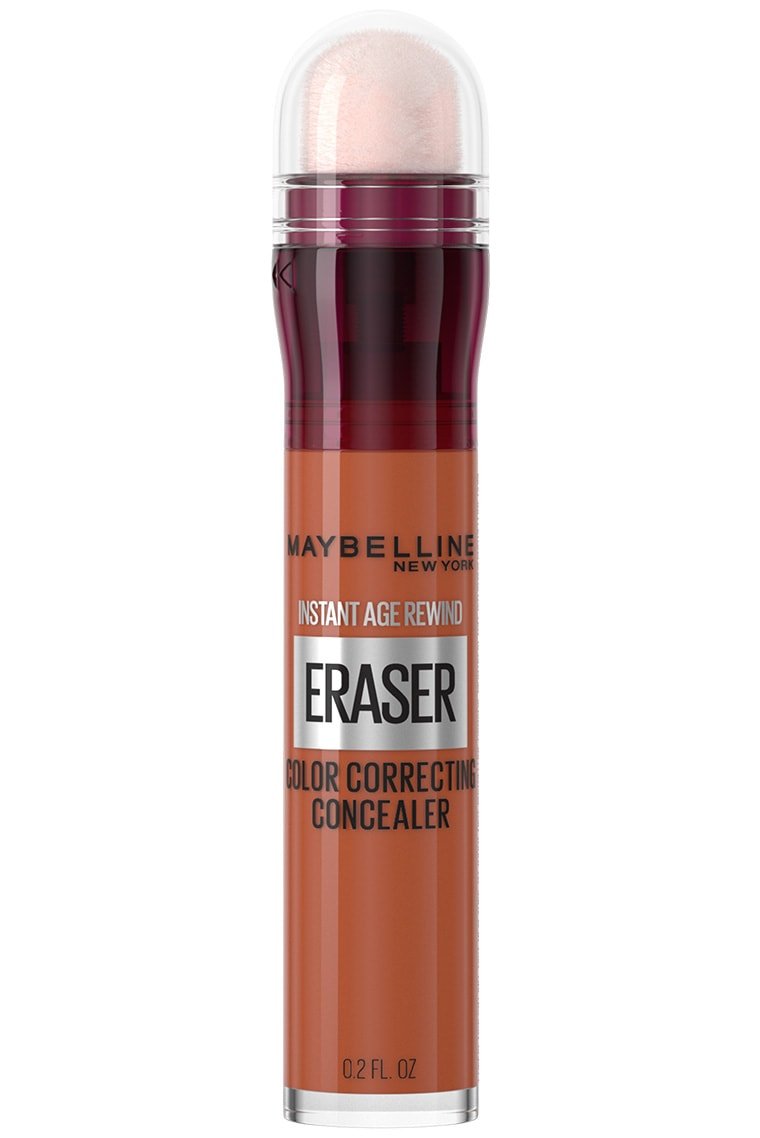
Orange Color Corrector
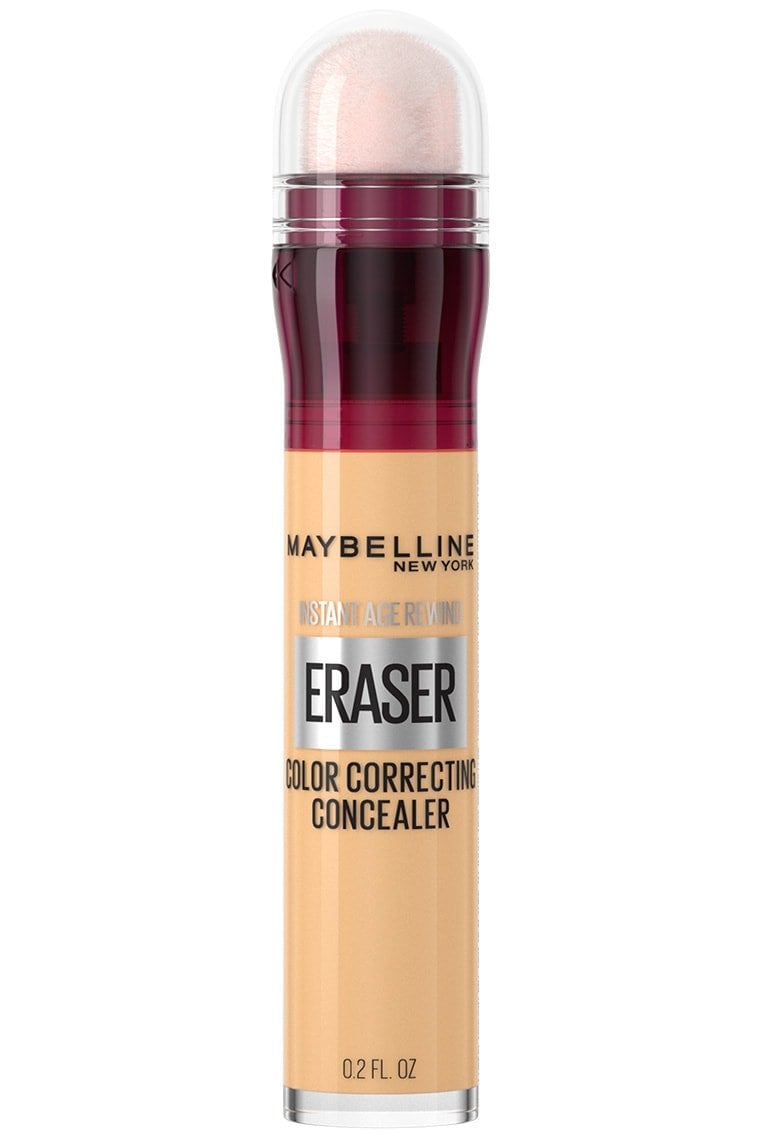
Orange color correctors, such as our Instant Age Rewind Eraser® in Orange, are ideal for counteracting discoloration in medium to deep skin tones. The orange color corrector is often recommended for dark undereye circles, as it targets blue tones. If you don’t want to use a full-on orange color corrector, there are eye-specific products like eye creams and concealers with a peach hue to them that are specially formulated with color correcting in mind and are meant to help brighten the eye area.Shop nowPink Color Corrector
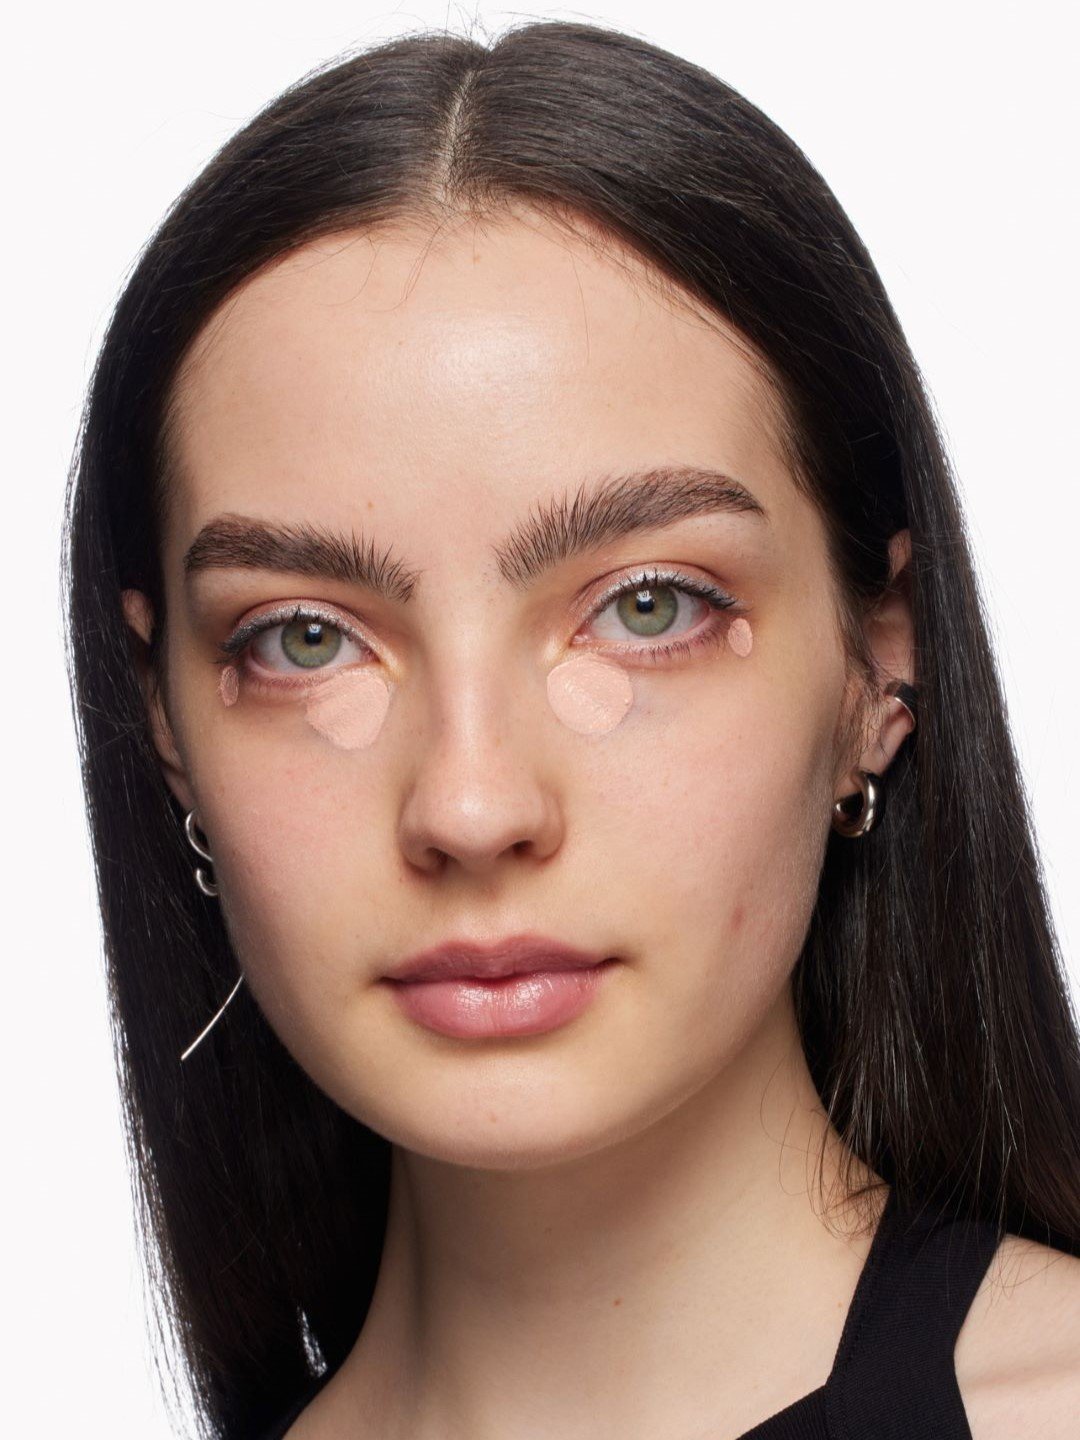
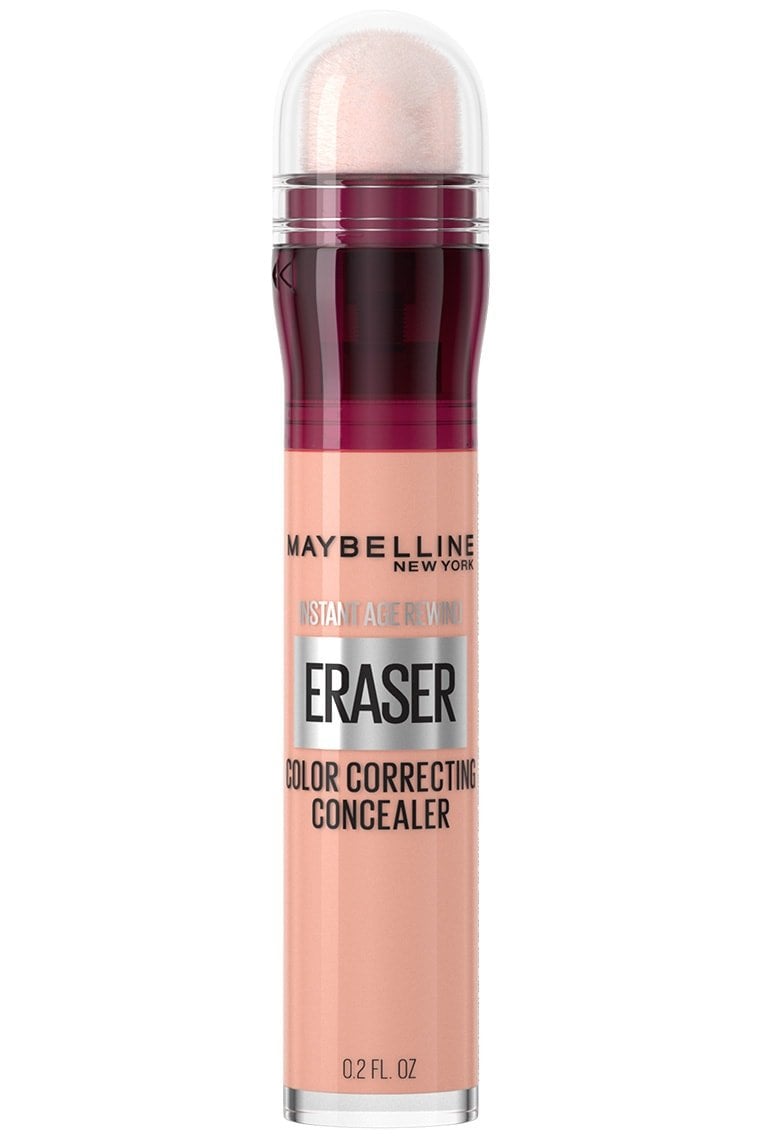
A pink color corrector like our Instant Age Rewind Eraser® in Pink is great if you want to brighten your complexion and in most cases, will work on all skin tones from light to deep. It can be used to brighten the under-eye area, especially for those with lighter skin, and makes for a nice inner corner highlight.Shop nowYellow Color Corrector
Because yellow is opposite to purple on the color wheel, it is well-suited for neutralizing discoloration that skews purple or blue. A color corrector like our Instant Age Rewind Eraser® in Yellow may be used on under-eye circles or to conceal bruises or veins.Shop nowGreen Color Corrector
A green color corrector works wonders when it comes to canceling out redness. For light to deep skin tones, apply the Instant Age Rewind Eraser® in Green to any red patches. Not only is this great for those with rosacea or who are prone to redness in the heat, etc., but it’s also a game changer if you accidentally get a sunburn (reminder to always apply sunscreen!).Shop now


Purple Color Corrector
If you find that your skin is looking dull or sallow, and essentially has a yellow tone to it, a purple color corrector is the way to go. Just as the pink color corrector is used to brighten, lavender can be used in a similar way to perk up your complexion.
Blue Color Corrector
Blue color correctors are good for balancing out any discoloration that appears orange, which is more common if you have a warmer skin tone. Using a blue color corrector can be helpful for someone with hyperpigmentation who wants to counteract patchiness or other discoloration.
How to Use Color Corrector Step-by-Step
Step 1. Apply Primer
To ensure that your makeup stays locked in place all day, start with a primer before you go in with your color corrector and base products. Apply the primer after you’ve washed your face and completed your skincare routine, giving your moisturizer or sunscreen enough time to soak into the skin.
Step 2. Apply Color Corrector
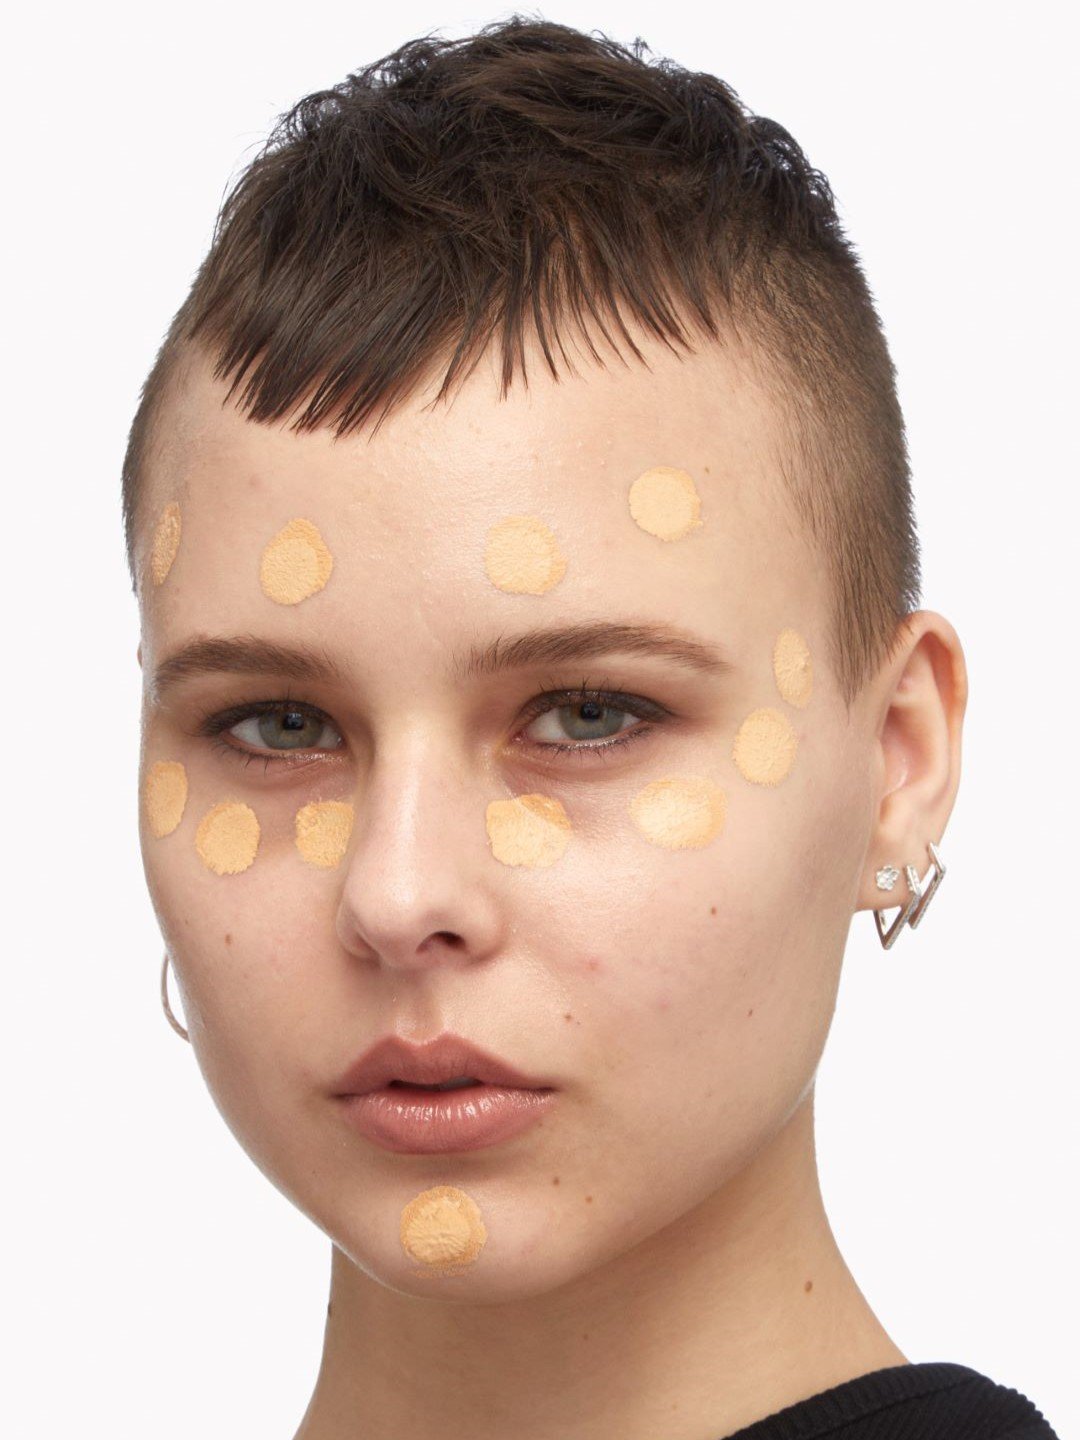
After identifying the color corrector shade for you, dab some onto the area that’s to be treated.
Where do You Put Color Corrector?
Color correctors are not meant to be applied all over your face, but rather in key areas where there is discoloration that you want to neutralize. So, if you’re trying to counteract dark circles, dispense a few dots of our Instant Age Rewind Eraser® to the under-eye area with the soft sponge applicator, which makes application a breeze, and blend.
Step 3. Apply Foundation
After you’ve blended your color corrector with a damp makeup sponge or a brush, it’s time to go in with your foundation of choice. It’s important to be mindful as you apply over your color corrector because you want to make sure it stays in place. We recommend using a stippling motion with your sponge or brush, in which you repeatedly dab the product onto your skin with a brush instead of sweeping or rubbing it in.
Step 4. Apply Concealer
Once your color corrector and foundation are applied, any discoloration should be pretty much nonexistent, but if it’s still peeking through a tiny bit, your concealer should make it fully disappear. Similarly to how you applied your foundation, you want to be gentle to ensure that your handiwork goes undisturbed.
Step 5. Set Your Makeup
If you couldn’t tell, there’s been a theme– you want to make sure that your color corrector and the rest of your makeup stays put. For even more staying power, sweep some setting powder over your face, especially on the areas that you color-corrected and grease-prone spots such as the T-zone (forehead, nose, and chin). Our Lasting Fix® Banana Powder has a yellow tint to it, so it’s especially great to pair with a yellow color corrector for extra brightening. As your last step, spritz a setting spray like Facestudio® Lasting Fix, which promises up to 16 hours of wear.


