Contour Makeup
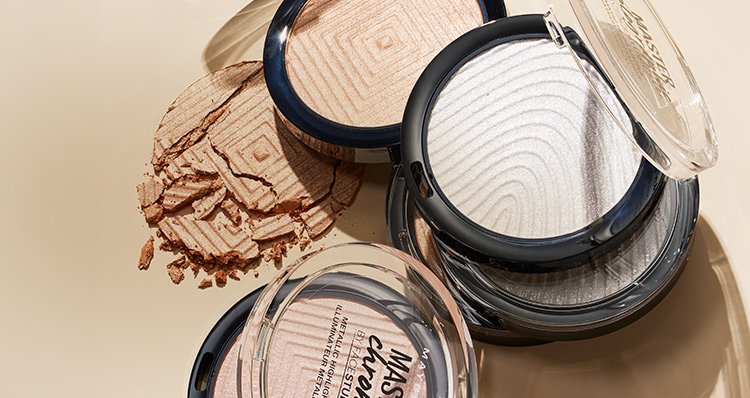
There’s no denying that makeup and art have a lot in common. Contour makeup and highlighter makeup, for instance, follow a key principle for creating depth– dark recedes and light advances. The two complement one another for a face makeup look that naturally enhances your facial features. Face contouring products will sharpen edges (think: cheekbones and jawline) by creating shadows, and highlighter products reflect light, adding dimension and imparting a youthful glow. Maybelline has everything you need for your masterpiece, including contour and highlighter sticks and powders, along with multi-use face products, all designed to blend easily and work with all skin tones and face shapes. Shop affordable highlighter and contour makeup products below, and learn how to contour like a pro with our helpful tutorials.
Filter By:
1 to 3 Items out of 3
Sort By:
- Sort By


Contour Makeup FAQs
The main difference between highlight and contour is how the product interacts with light. The dark nature of a contour product creates shadows that make facial features appear sharper and more angled. Highlighter, on the other hand, has a softness that reflects light and plays off the shadows created by the contour, resulting in depth and dimension. The two are meant to be applied in different areas, too, with highlighter on the high points and contour on the angles, like under cheekbones, the sides of the nose, and along the jawline.
Benefits of highlight:
- Brightens the skin for a healthy glow
- Draws attention to the areas it’s applied to
- Lifts the face
- Creates the illusion of smooth texture
Benefits of contour:
- Adds definition to the face
- Creates shadows for sharper angles
- Adds depth and structure
- Sculpts and lifts the face
The best contour makeup is one that blends into your skin seamlessly, creating shadows where you want to add dimension. Cream or stick formulas are great for beginners as they melt into the skin and tend to be more forgiving, creating a second-skin look and feel. Try our Lifter Stix Multi-Use Face Sticks. Powder tends to be a little more challenging, but it may help you achieve a more precise, mattified contour look.
You can contour your nose by using a slim contour stick for precision, like our Lifter Stix Multi-Use Face Sticks. Draw lines on each side of your nose from the top to the tip, then blend along the bridge. The creamy stick formula glides on easily as you draw and blends out seamlessly, leaving you with a natural, more sculpted look.
Contouring is a makeup technique that has long been used to sculpt and define facial features. Contour products are a type of face makeup that plays well with highlighter to create areas of darkness and brightness, coming together to add depth and definition for a more sculpted and lifted look. The main objective is to use a product that’s darker than your skin tone to create these shadows, so although there are contour-specific products like our Lifter Stix Multi-Use Face Sticks, you could easily use a foundation or concealer to create the same effect.
Achieve a lifted, sculpted look by following this step-by-step guide to contouring.
Step 1: Apply foundation to even out any discoloration, creating a smooth, even-toned canvas for your contour. Our SuperStay Lumi Matte Foundation will leave you with a radiant, skin-like finish.
Step 2: Start with your contour product, such as Lifter Stix Multi-Use Face Sticks, at the top of your cheekbone and draw an angled line to the apple of your cheek. Tip: Always apply your darker contour shade first and your highlighter/concealer shade second. It will give a more "lifted" and awake effect.
Step 3: Using that same contour shade, draw along the jawline, starting from below your ear. To start, we recommend making a few dashes along the jaw instead of one continuous line, as you can always add more if needed.
Step 4: Add depth and dimension to the forehead by outlining along the hairline and connecting that line to the cheekbone. This should make a backwards “3” on each side, rounding around your temple, connecting below your cheekbone, and to your jaw, too. For an extra bronzed, warmed-up feel, add some City Bronzer to the temples and buff it in with a brush.
Step 5: Blend all of the contour lines into your skin with a damp makeup sponge, making sure you’re pressing the sponge into your skin instead of wiping at it, which can remove the color and soften the sharp angles.
Step 6: Gently define the nose by drawing a line of contour on both sides, going all the way from the top of the bridge, close to the brow, down to the tip. Gently pat in color with your sponge to blend.
Step 7: Now use a lighter IAR Concealer shade to conceal dark circles and brighten the face. Add "lift" by drawing slightly upward tilted lines at the ends of the eyes, in between brows, down the bridge of the nose, and along the mid cheek. Add a pop of brightness on the outer corners of the nose, and a dot on the center chin. Blend to finish.
Yes, using a darker shade of concealer is a great way to contour without actually using a contour product. This method works super well with our Instant Age Rewind® Eraser Multi-Use Concealer, as the formula is creamy and blendable, and its sponge tip applicator helps draw sharp lines right where you want them. We recommend going a shade or two darker with your contour shade, and you can do the same with highlighter, too, choosing one or two shades lighter to brighten the high points of your face.
Choose a contour product for your face by selecting a shade that’s one to two shades darker than your skin tone. For a true contour, choose a shade that’s on the cooler, ashier side versus one that’s warmer, which is what bronzer is for. Depending on whether you choose your exact skin tone shade for foundation, you may want to consider your foundation shade first, before selecting your contour shade, so the two aren’t too similar in color. You want a clear distinction between the two shades, so you can achieve a visible contrast.
Yes, contour should be darker than both your concealer and your skin tone since it’s meant to create shadows for sculpting. Typically, your foundation is about the same shade as your skin tone, then your concealer and your highlighter are one to two shades lighter to brighten, and your contour is one to two shades darker to deepen the complexion. You can create almost your whole look by thoughtfully selecting your shades of Instant Age Rewind; one shade to cover and conceal, one to brighten, and one to contour. The contour shade can be used on the eyes as a shadow, too!
No, contour is not the same as bronzer. Although both contour and bronzer are meant to be deeper than your skin tone, contour products should be cooler-toned to lift and sculpt in the most natural way, while bronzer is meant to be warmer, with golden tones to give a sun-kissed glow. Contour products tend to be formulated without any shimmer, too, whereas bronzer will sometimes have it to give even more of a luminous, healthy glow.
Contouring has no age limit and can be flattering at any age! The secret is in choosing the right products. To contour mature skin over 50, opt for lightweight, blendable products. A hydrating formula as your base, like Fit Me Dewy + Smooth is a good place to start. Pair that with Lifter Stix Multi-Use Face Sticks for your contour and an equally creamy blush, like Sunkisser Liquid Blush for a dewy glow that hydrates the skin and won’t settle into fine lines.
While there are no hard and fast rules when it comes to face makeup– do what makes you feel good!– there are some guidelines that can help you achieve the best contour look. Try contouring based on your face shape, which will emphasize and flatter your features. Choose the appropriate formulas for your skin type– creams are great for dry and combo skin, and powder is good for absorbing oil– and make sure you blend, so there are no visible lines. Following our step-by-step contour guide above will help!
Yes, you can contour without foundation for more of a no-makeup, makeup look. This is easily achievable, especially when using cream formulas. We suggest using a concealer to even out your skin tone and then going in with your contour shade. This is a great instance for pairing two different shades of IAR concealer to get your contoured look sans foundation.
For the best control and blendability, we recommend applying your contour after your foundation. A long-wear foundation base, such as our Super Stay Longwear Foundation is a great base for your contour.
Find your contour shade by identifying your skin tone and undertone, then choosing a contour formula that’s one to two shades darker. Your skin tone is what you see on the surface, while your undertone is related to the color of your veins– blue/purple is cool, green is warm. When it comes to a contour product, keep this in mind. Cooler tones should go for more taupe shades and warmer, more brown shades. But, in general, contour shades should be cooler than your bronzer. For some extra help, Maybelline’s Foundation Finder tool comes in handy, taking the guesswork out and finding you your perfect match!
Yes, contouring can make your face look thinner as it has the ability to sharpen facial features, making them appear more pronounced. Depending on how dark the shadows you create are, it can give the illusion of being more hollowed out and angular, thus visually slimming the face in areas like the cheekbones and jawline. If this is your goal, go for a beginner-friendly stick like Lifter Stix Multi-Use Face Stick to help carve out your complexion.

STAY IN THE KNOW
Sign up for the latest news on product launches, makeup tips and trends, sweepstakes and more.