How to Use the Underpainting Makeup Technique
for a Natural Look
If you're looking for a new makeup technique to try, look no further than underpainting. Underpainting is a technique that involves applying your products in an unusual order to create a natural, blended look. With this technique, you can go all out with the contour and still end up with a polished look free of harsh lines.
Underpainting makeup is a technique that has been around for a long time, but it has more recently gained popularity in social media. It's a great way to achieve a no-makeup makeup look, or to simply enhance your natural features. Plus, it's a technique that can be used by anyone, regardless of their skill level. Read on to learn everything you need to know about this makeup trend.
Underpainting makeup is a technique that has been around for a long time, but it has more recently gained popularity in social media. It's a great way to achieve a no-makeup makeup look, or to simply enhance your natural features. Plus, it's a technique that can be used by anyone, regardless of their skill level. Read on to learn everything you need to know about this makeup trend.
WHAT IS UNDERPAINTING IN MAKEUP?
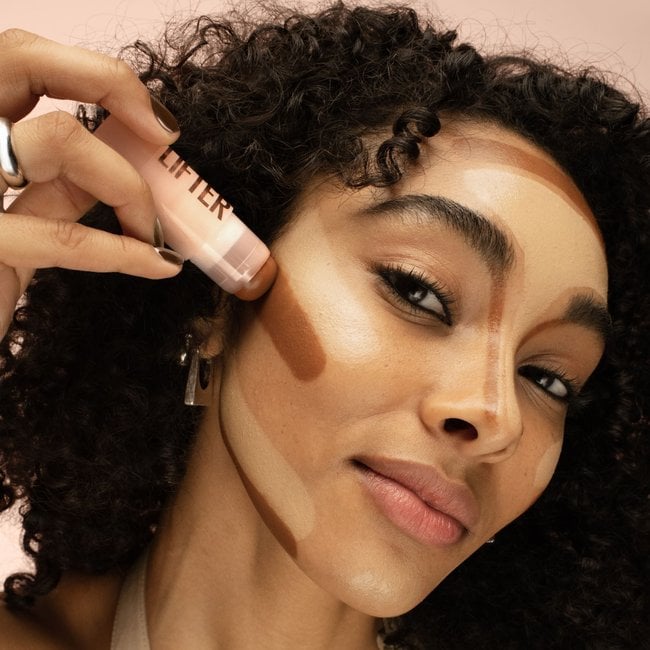
Underpainting is a makeup technique that involves applying contour, blush, highlighter, and other face makeup products underneath your foundation, hence the name “underpainting.” Whereas in a traditional makeup routine you would apply foundation first, in underpainting, foundation is applied last.
IS UNDERPAINTING MAKEUP BETTER?
There are many benefits to using the underpainting makeup technique.
- Underpainting can help to create a more natural and blended look without harsh lines. Since your foundation is layered on top, your blush, contour, and other products peek through the foundation, giving you the appearance of not wearing much makeup at all.
- Underpainting can result in a faster makeup routine, since everything is blended in one step.
- Underpainting can help to minimize the appearance of pores and blemishes without cakiness or the look of thick makeup. This is because the products you apply first will help to fill in these imperfections, making them less visible, before foundation is even applied. As a bonus, you may find yourself using less foundation since your other products add coverage.
HOW TO DO THE UNDERPAINTING MAKEUP TECHNIQUE
The underpainting makeup technique is a simple one that can be done in just a few minutes. Here are the steps:
STEP 1: MOISTURIZE & PREP YOUR SKIN
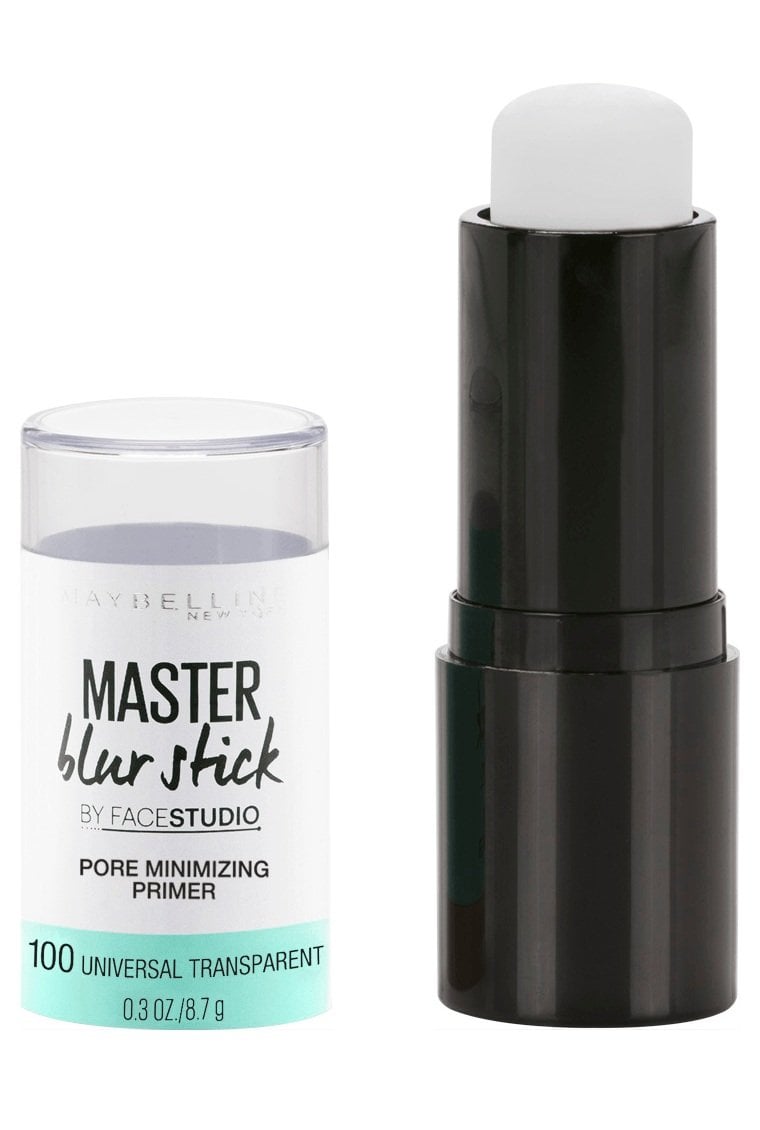
Moisturizing your skin is the foundation of any good makeup look to create a smooth, hydrated base for your makeup. We recommend using a lightweight, oil-free moisturizer. If you have time, you can also use a primer to help your makeup last longer. Facestudio® Master Blur Stick Primer is a great option for quick application in stick form.- Universal Transparent
- Clear

STEP 2: CONTOUR
Contouring is the key to creating a sculpted and defined look. To contour, you'll need a cream or liquid contour product that is a few shades darker than your skin tone. Apply the contour product to the hollows of your cheeks, along your jawline, and around your temples. Lifter Stix™ Multi-Use Face Stick is a great option for underpainting because it conceals, contours, and highlights and is available in a variety of shades to match any skin tone. Use a slightly darker shade for contouring.- 122
STEP 3: APPLY CONCEALER & COLOR CORRECTOR
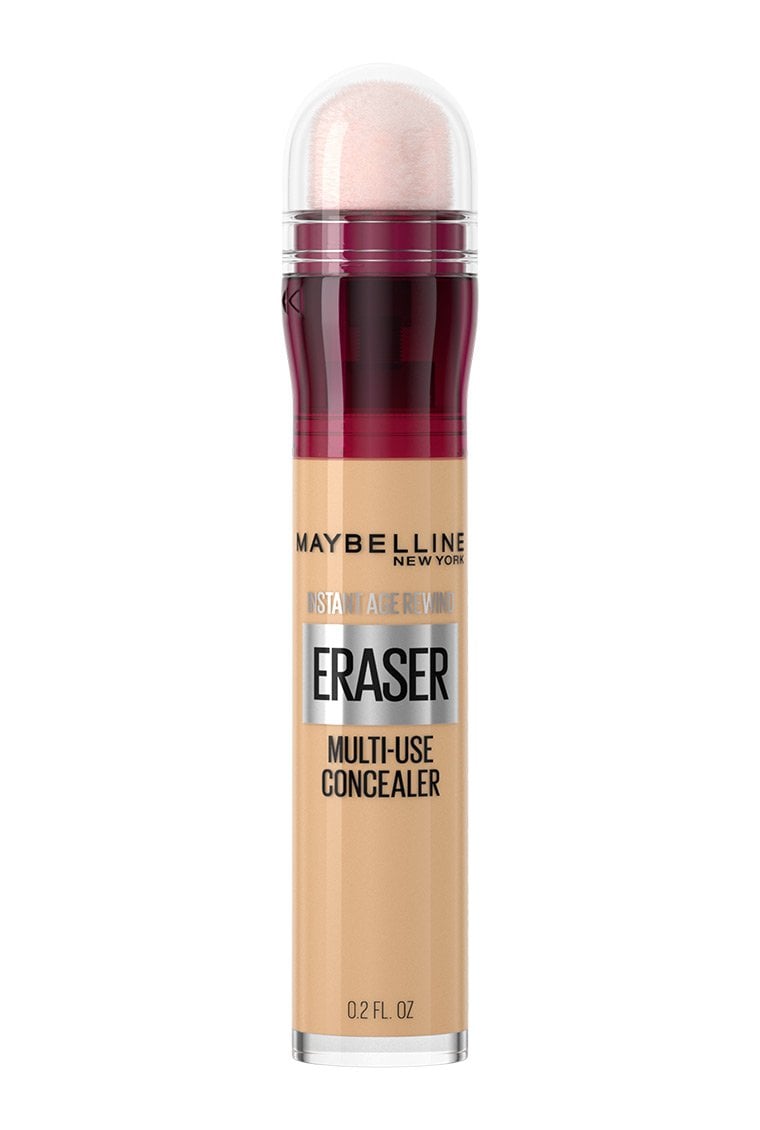
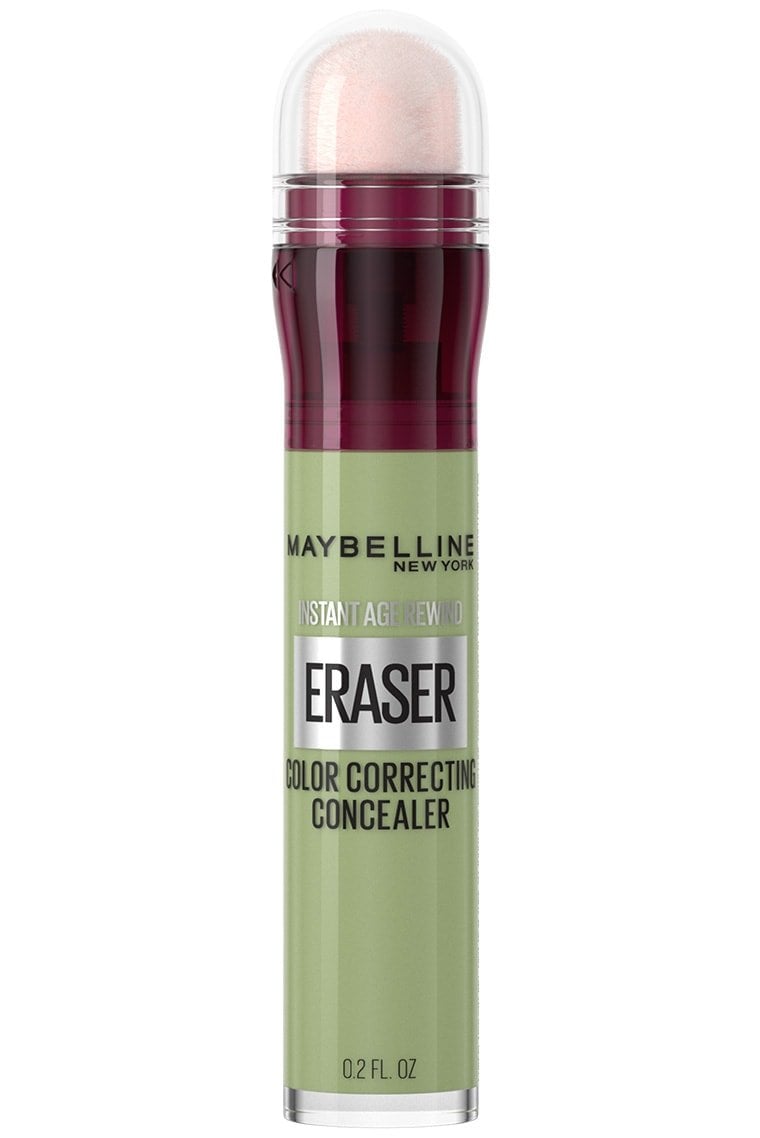
Next, you'll need to apply concealer to any areas that you want to brighten or correct. This includes dark circles under your eyes, blemishes, and any other imperfections. You can also use a color corrector to neutralize any redness or discoloration. We recommend the Instant Age Rewind® Eraser Multi-Use Concealer to conceal and brighten areas you wish to highlight. For color correction, consider a color corrector like our Instant Age Rewind® Eraser Color Correcting Concealer.- 122
- Green
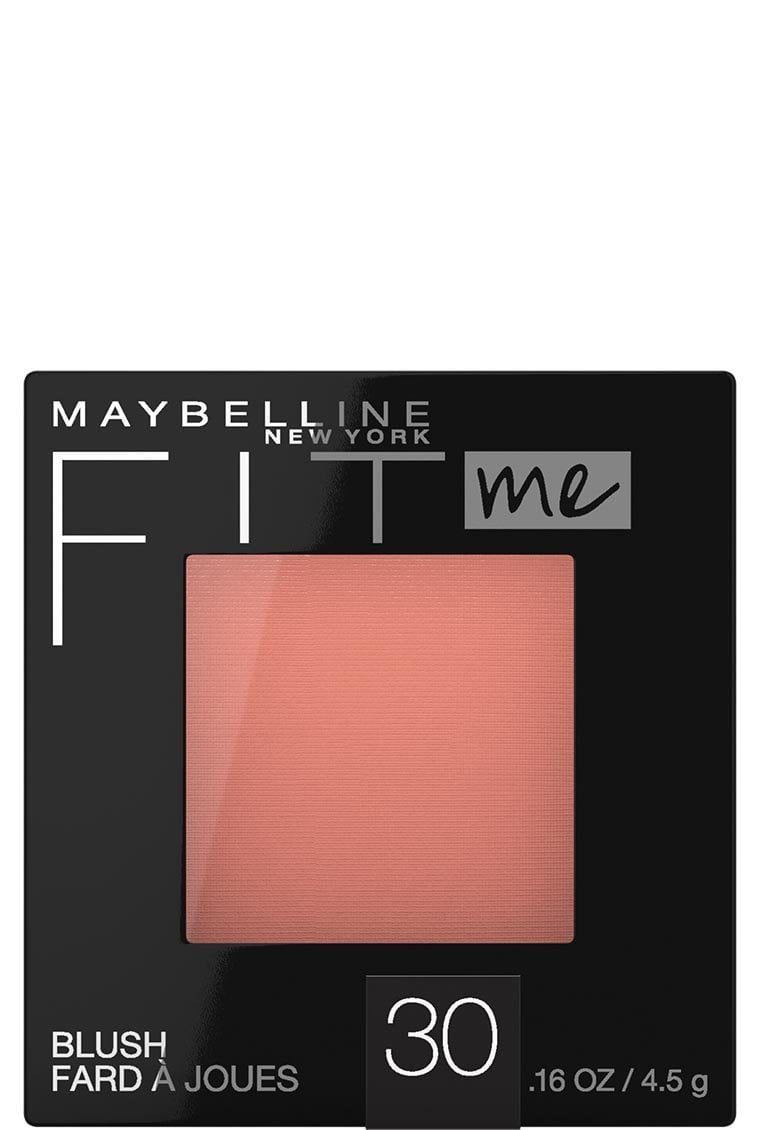
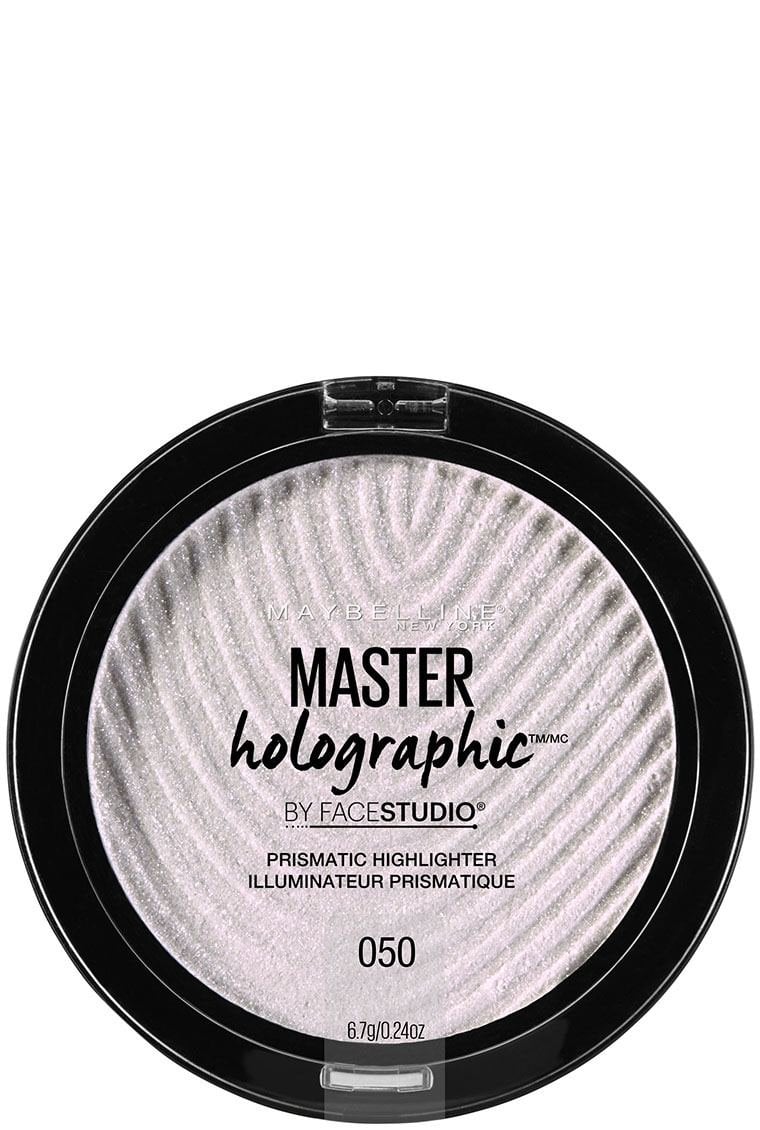
STEP 4: APPLY BLUSH & HIGHLIGHTER IF DESIRED
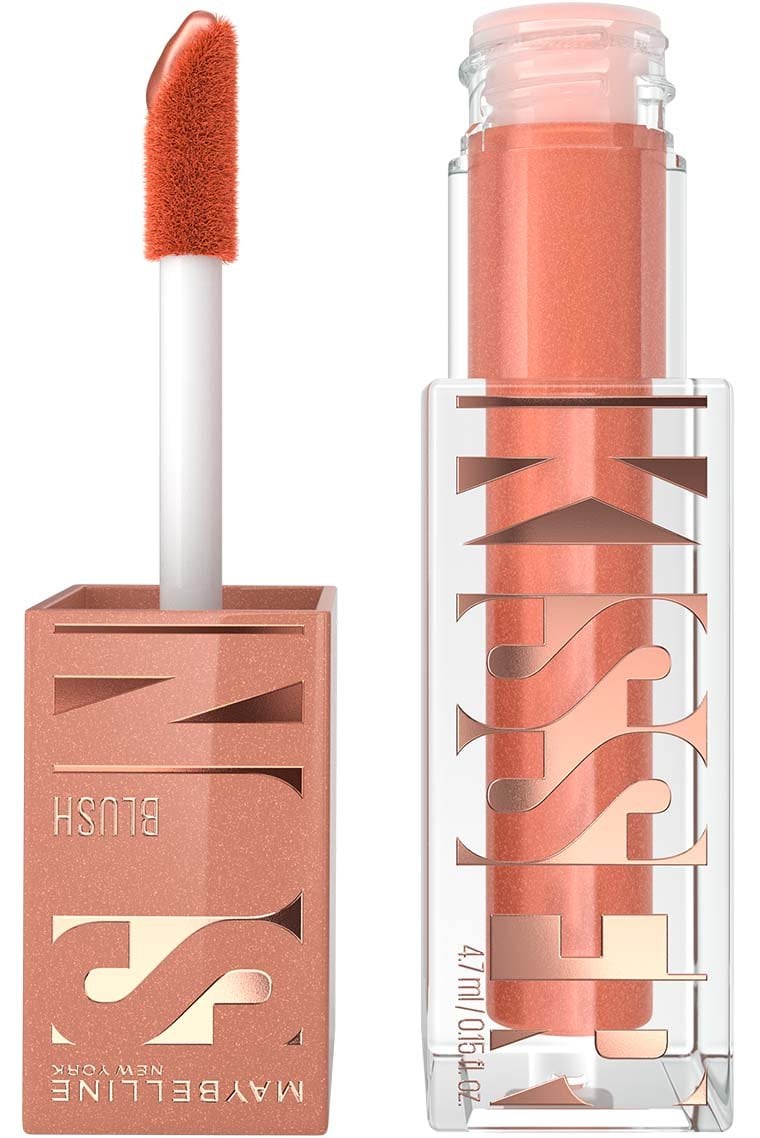
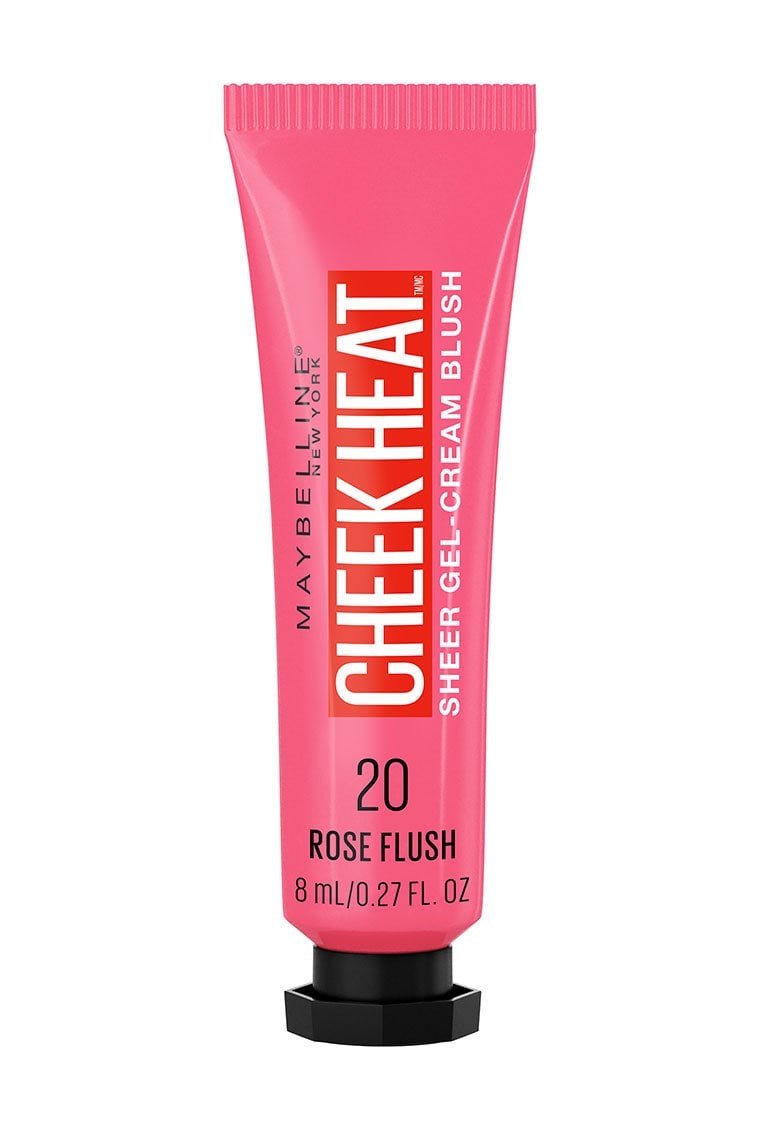
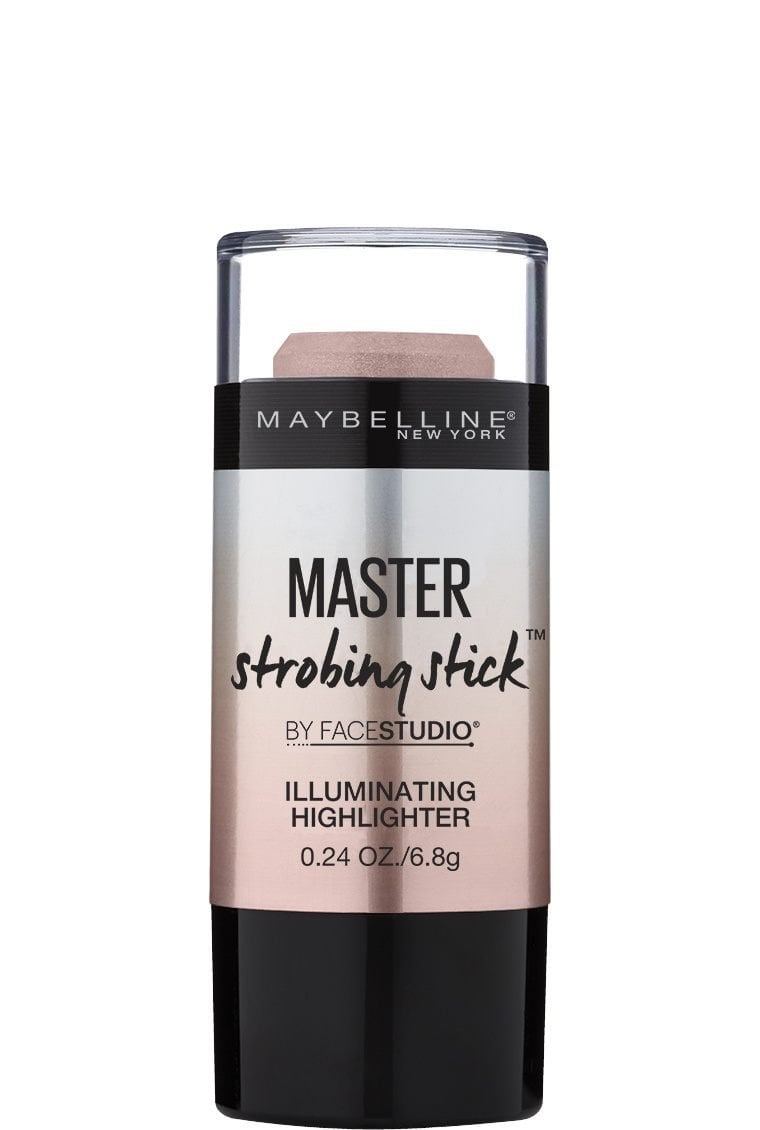
If you want to add a touch of color to your cheeks, you can apply blush. Choose a blush that is a natural shade for your skin tone. Apply the blush to the apples of your cheeks. For this, a liquid blush like Sunkisser Multi-Use Liquid Blush and Bronzer or cream blush like Cheek Heat® Gel-Cream Blush works best, since you will be applying foundation over it.You can also add a touch of highlighter to the top of your cheekbones, brow bone, and Cupid's bow to create a more lifted and youthful look. Use the Facestudio® Master Strobing Stick™ Illuminating Highlighter for easy application.
- Sol Search
- Rose Flush
- Light- Iridescent
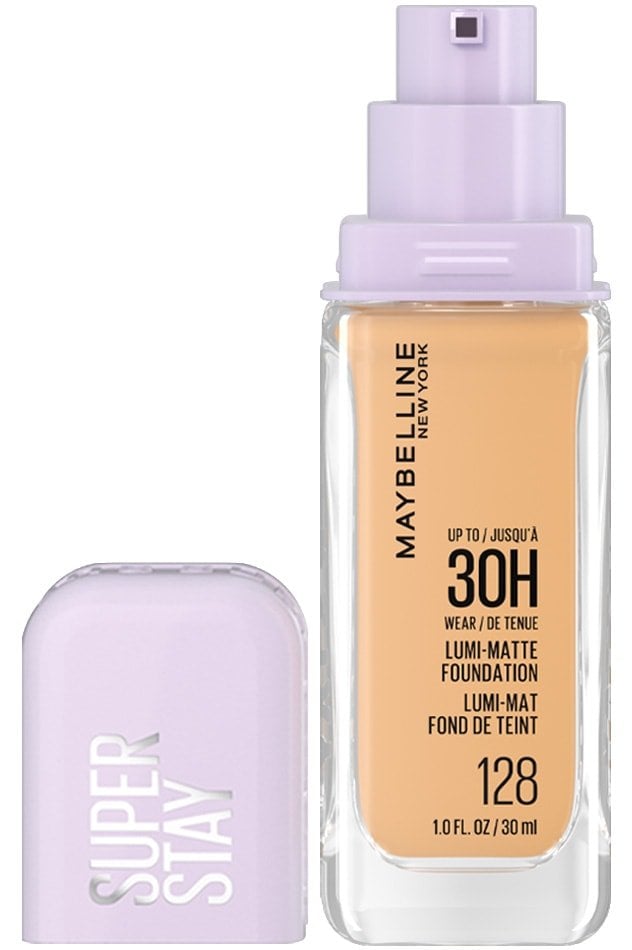
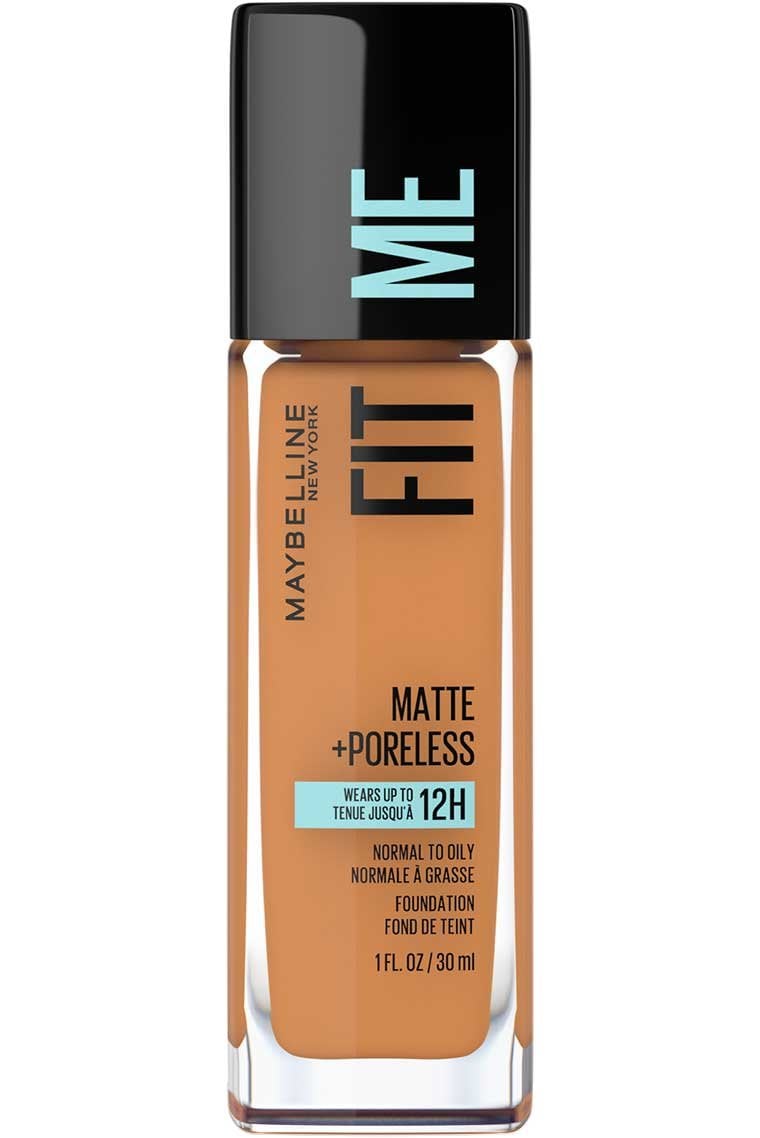
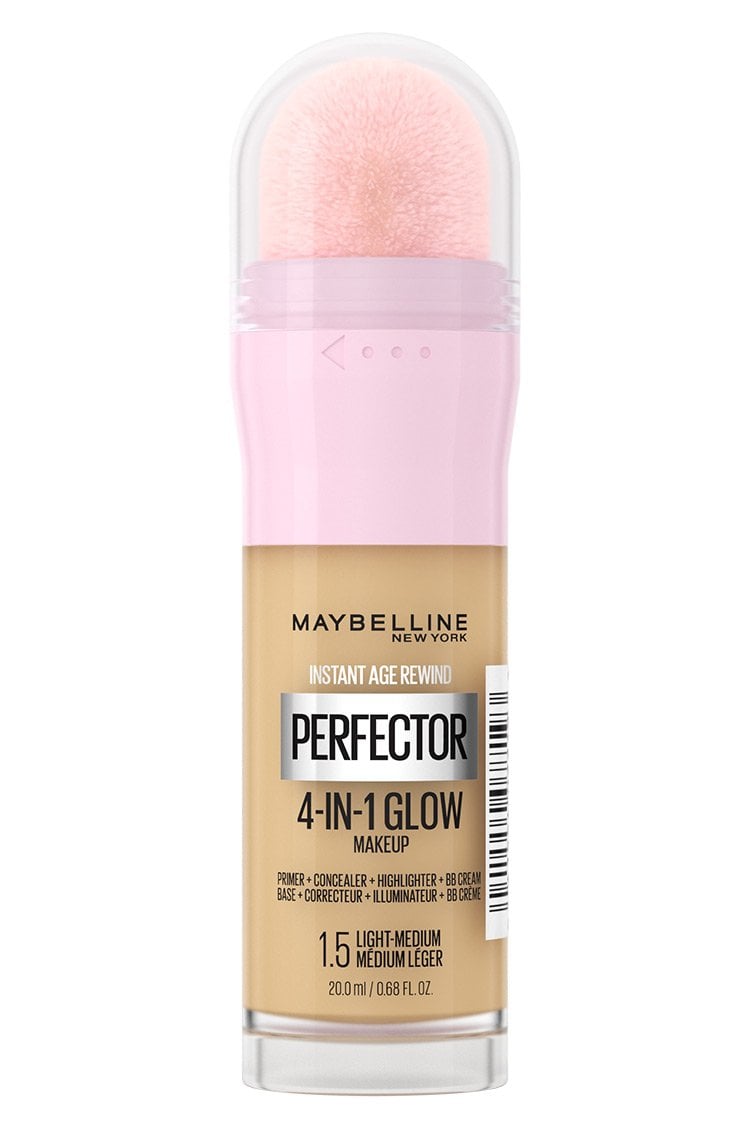
STEP 5: APPLY FOUNDATION
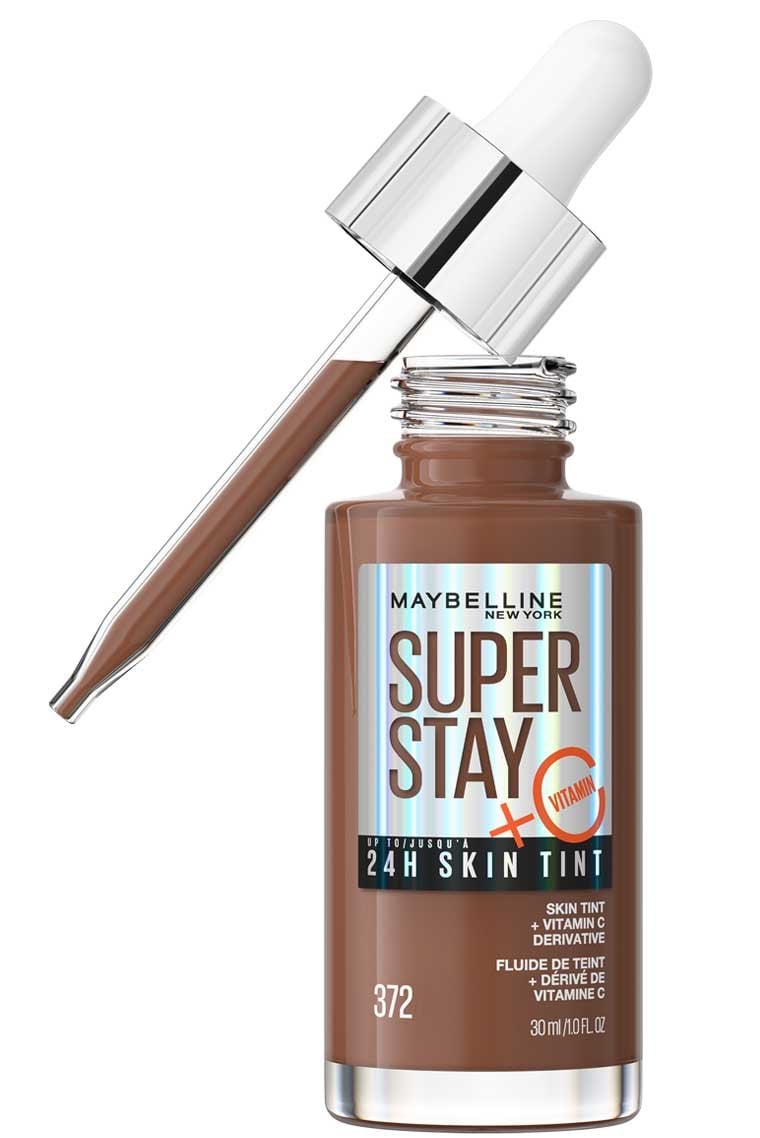
Now it's finally time to apply your foundation! In this step, you’ll be bringing it all together to create that natural finish. Choose a liquid foundation that is a good match for your skin tone. Apply the foundation in thin layers. Try to dab rather than smear in order to avoid disrupting your blush, contour, and highlight. You can use a brush, sponge, or your fingers to apply your foundation. Be sure to blend it into your hairline, neck, and ears.- 372
- 128
- 334
- Light Medium
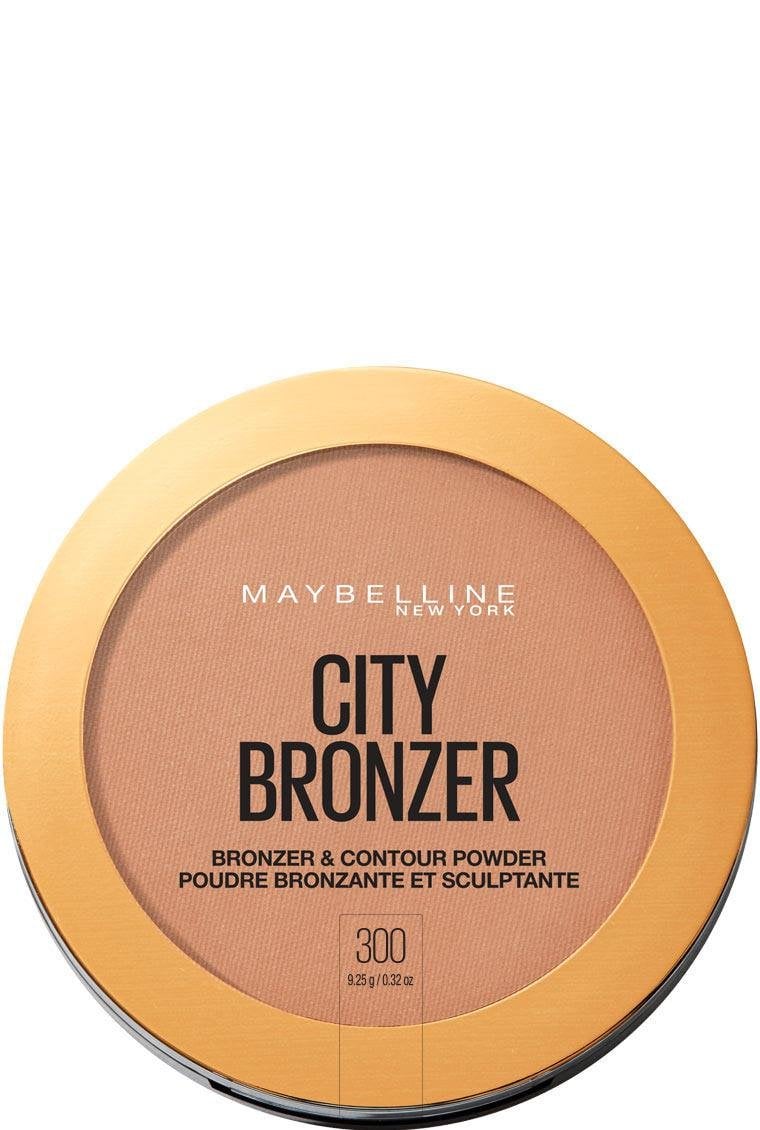
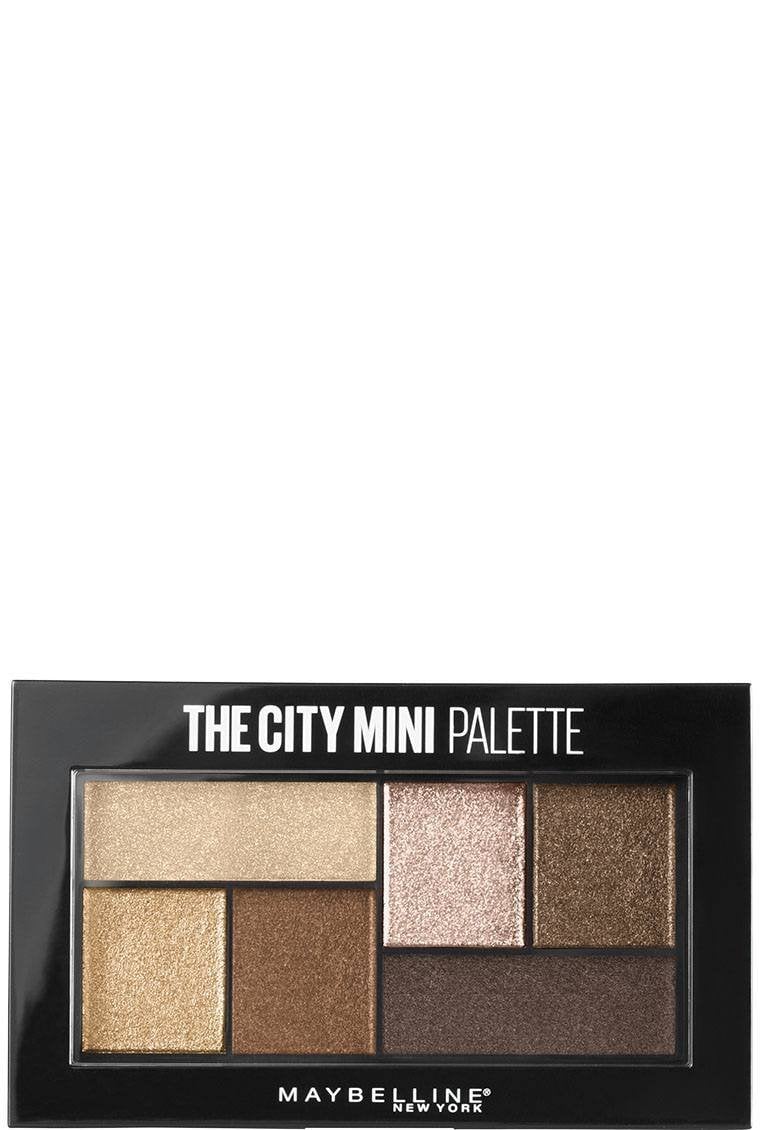
STEP 6 (OPTIONAL): APPLY POWDER MAKEUP PRODUCTS FOR A BOLDER LOOK
If you want a more bold and dramatic look, you can add some powder makeup products. This includes bronzer, blush, eyeshadow, and highlighter. Apply these products in small amounts and blend well.- Deep
- Rose
- Rooftop Bronzes
- Opal
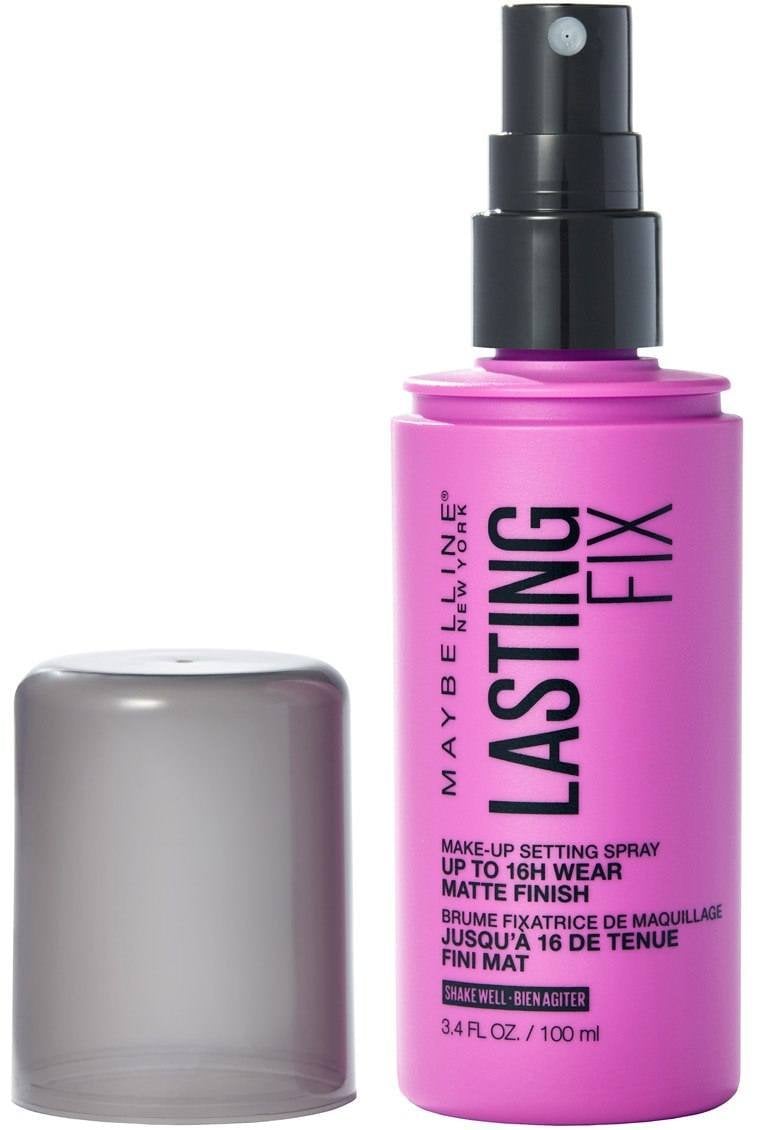
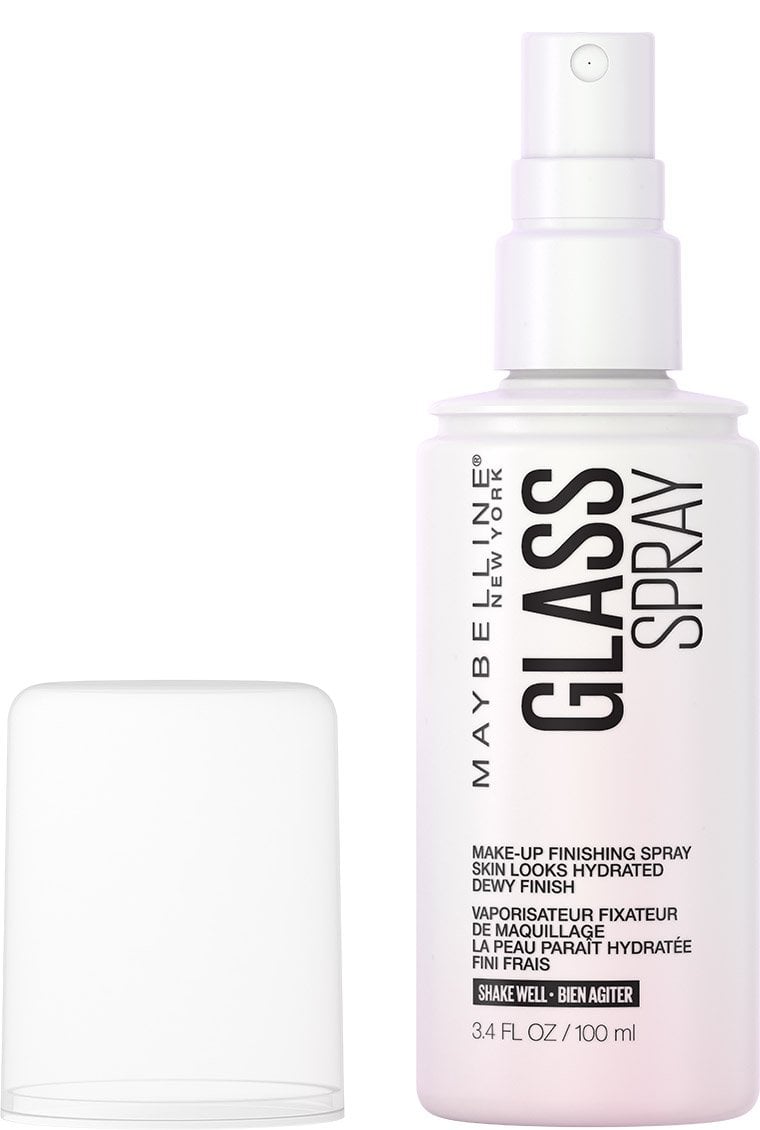
STEP 7: SET YOUR MAKEUP
To set your makeup and keep it in place all day, you'll need to use a setting spray like Facestudio® Lasting Fix Matte Setting Spray. Choose a setting spray depending on the finish you want, whether matte or dewy. Hold the setting spray about 8 inches away from your face and spray evenly. Let the setting spray dry completely.- Lasting Fix
- Glass Skin Spray
Underpainting makeup is a great way to create a natural, blended look that will last all day. By following these tips, you can easily master this technique and achieve a flawless finish.