How to Create a Flawless Minimal Makeup Blush Look
What is Minimal Makeup?
Minimal makeup is a makeup style that focuses on enhancing your natural beauty rather than covering it up. It involves using a few key products to create a polished and put-together look without going overboard.
Minimal makeup is perfect for everyday wear or for those who prefer a more natural look.
What Does Minimal Makeup Include?
•Moisturizing your skin
•Applying a light foundation or BB cream
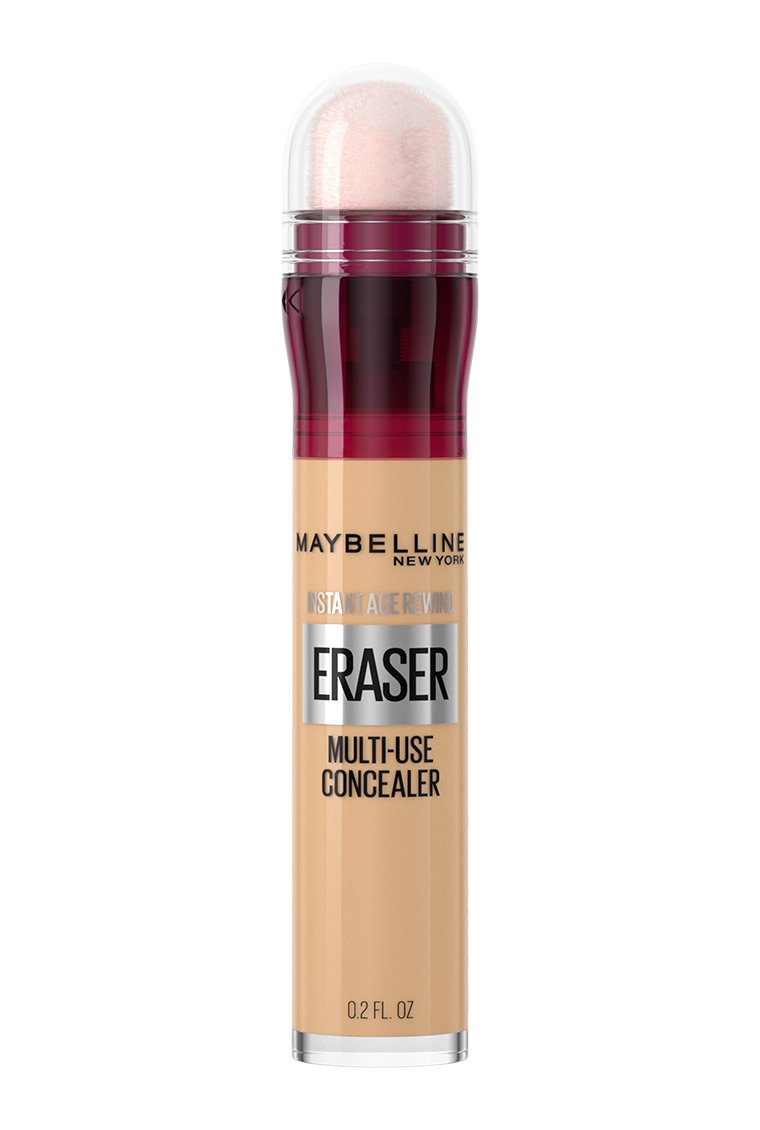
•Concealing any blemishes or dark circles
•Adding a touch of blush to your cheeks
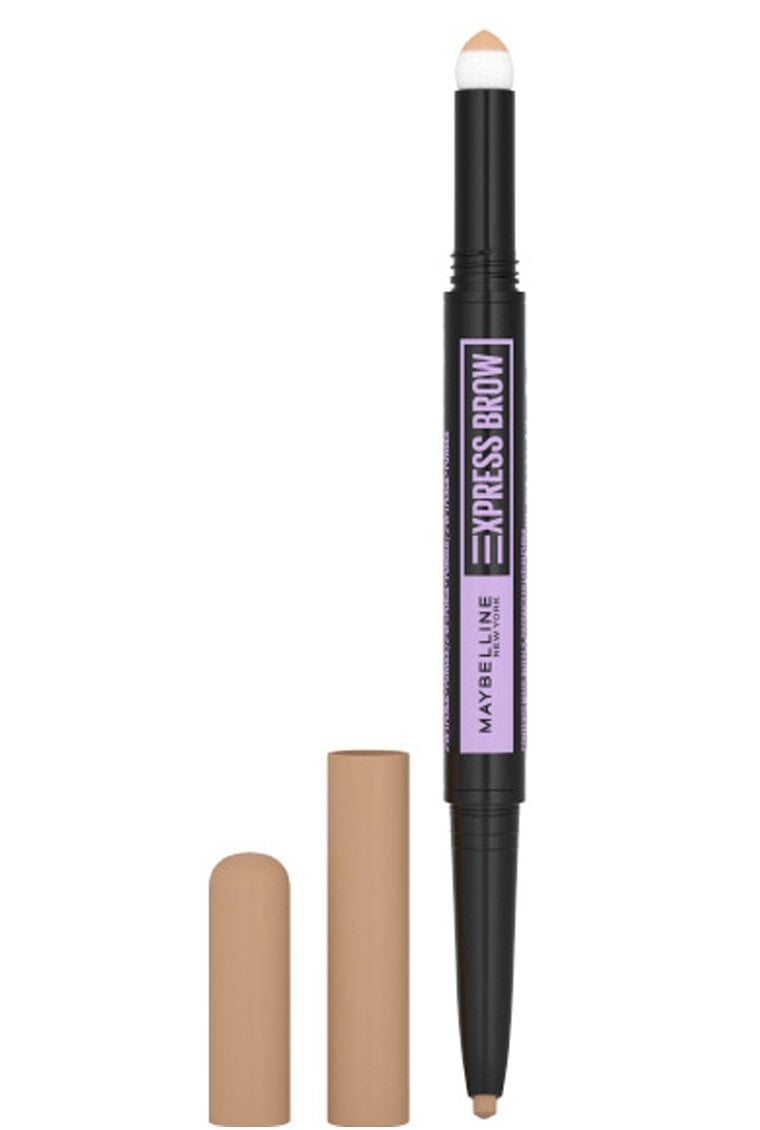
•Defining your eyebrows
•Swiping on some mascara
•Adding a touch of lip color
How to do a Minimal Makeup Blush Look
Step 1: Prep Your Skin
Before diving into your makeup routine, it's crucial to start with a well-prepped base– begin by cleansing and then apply moisturizer to ensure your makeup not only looks flawless but also stays intact throughout the day.
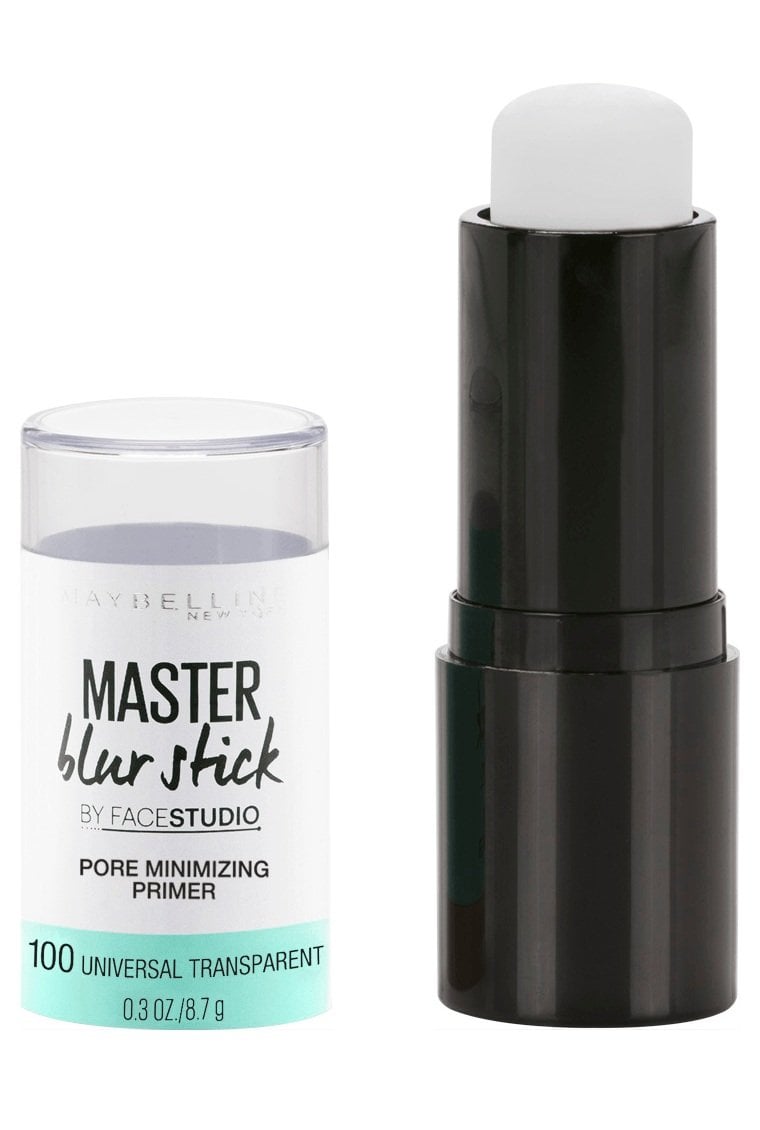
Next, incorporate a primer that's specifically formulated for your skin type and provides the benefits you’re looking for. For instance, primer can smooth out the skin's texture, minimize the appearance of pores, help even out discoloration, and increase the longevity of your makeup. When choosing a primer, consider your skin concerns. If your goal is to minimize your pores, look for one that’ll smooth and blur such as our Baby Skin Instant Pore Eraser. Have oily skin, too? Go for something that will mattify and control excess oil like Fit Me Matte + Poreless Primer. But, if your skin is on the other end of the spectrum and you’re more concerned with dryness, you’ll love the FaceStudio Master Primer in Hydrate + Smooth, which locks in moisture and prevents your makeup from looking dry or flaky.
- Clear
- Clear
- Universal Transparent


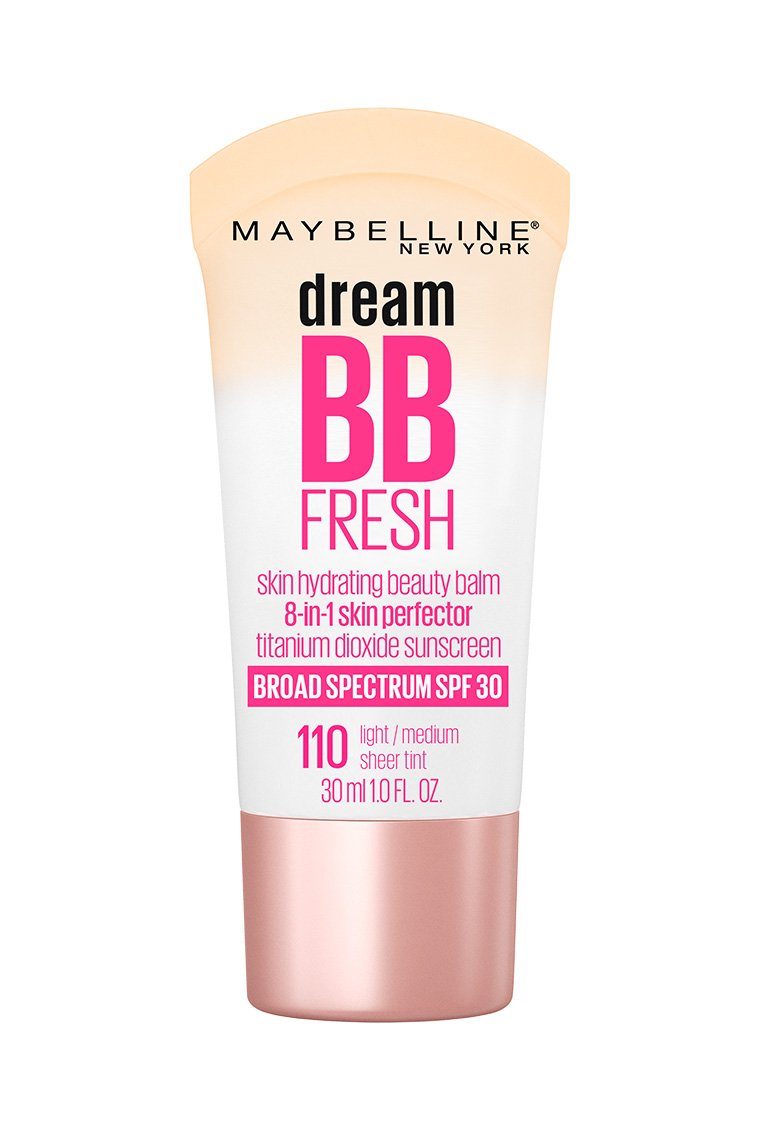
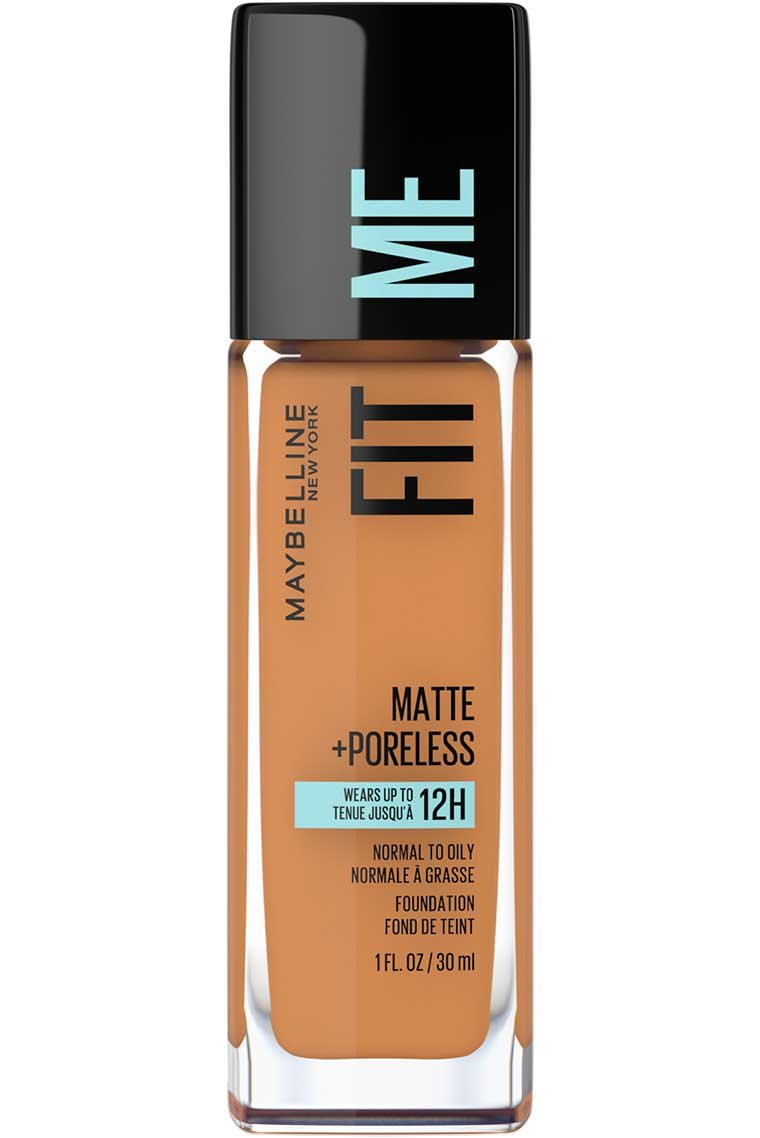
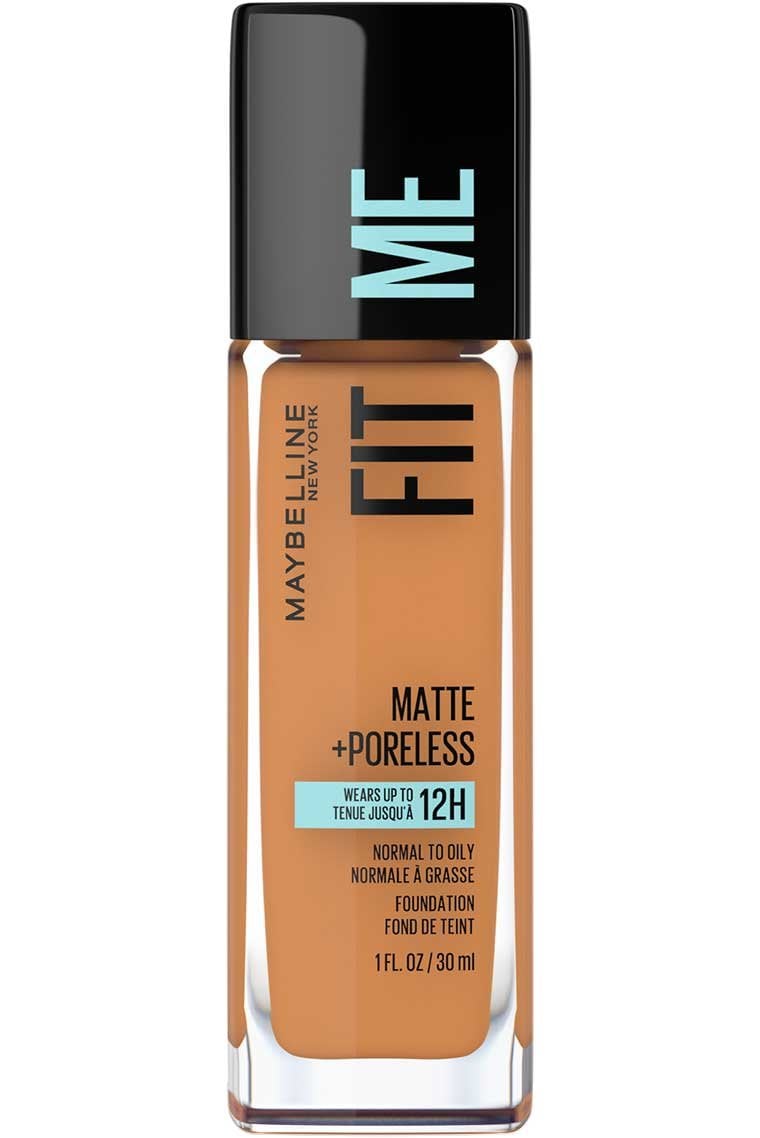
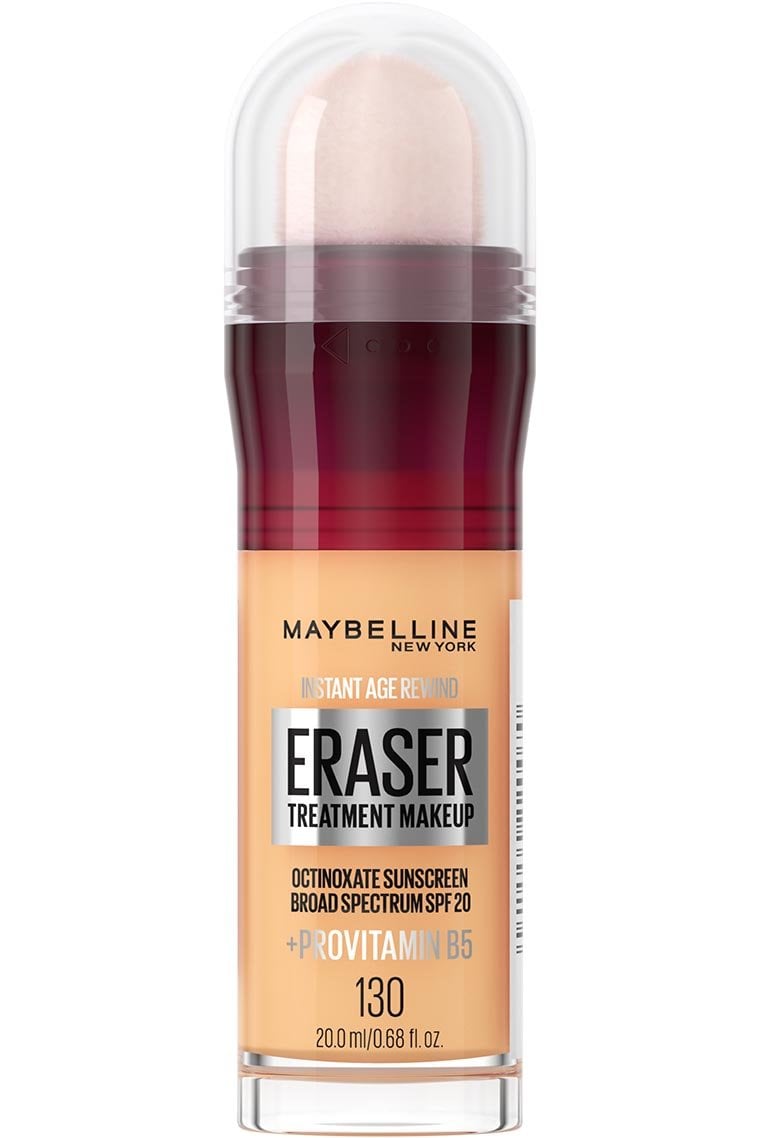
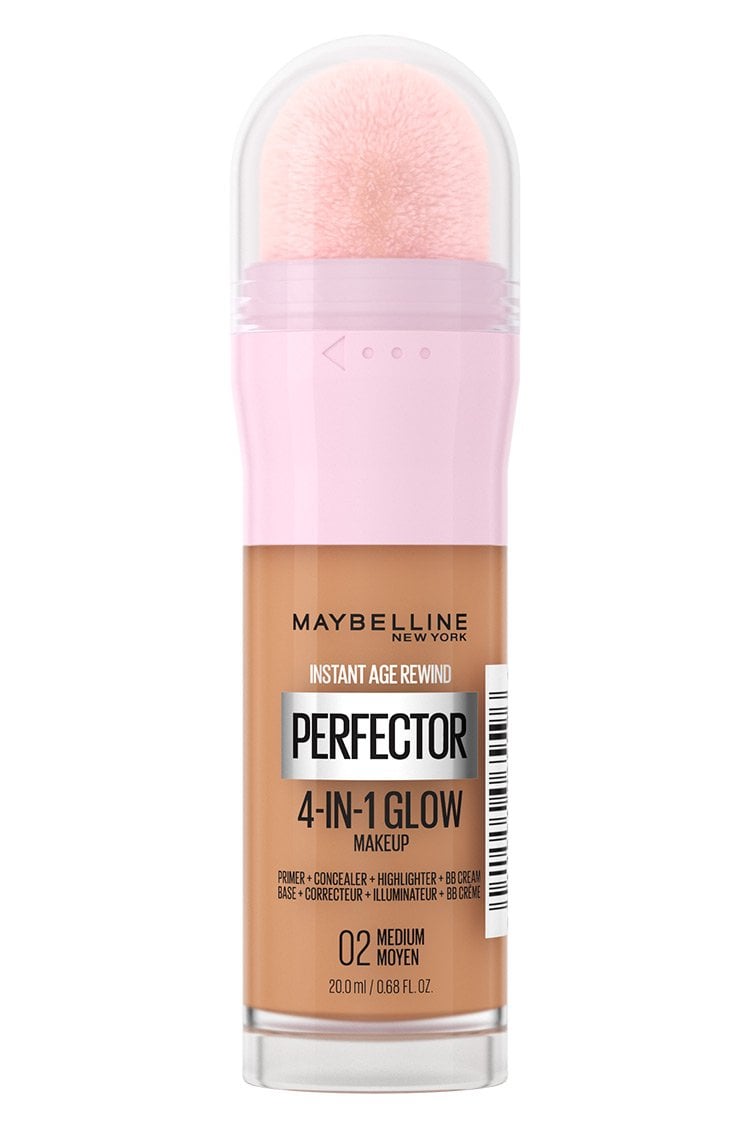
Step 2: Keep Your Base Light
By choosing the right foundation and applying it correctly, you can achieve a minimal makeup look that feels comfortable on oily skin and lasts throughout the day. Remember, keep the coverage light and focus on creating a fresh, natural finish.
Pro Application Tip: Consider using a damp beauty sponge rather than a brush as it can help to sheer out the coverage of your foundation for a lighter appearance.
- 334
- 129
- 130
- Medium

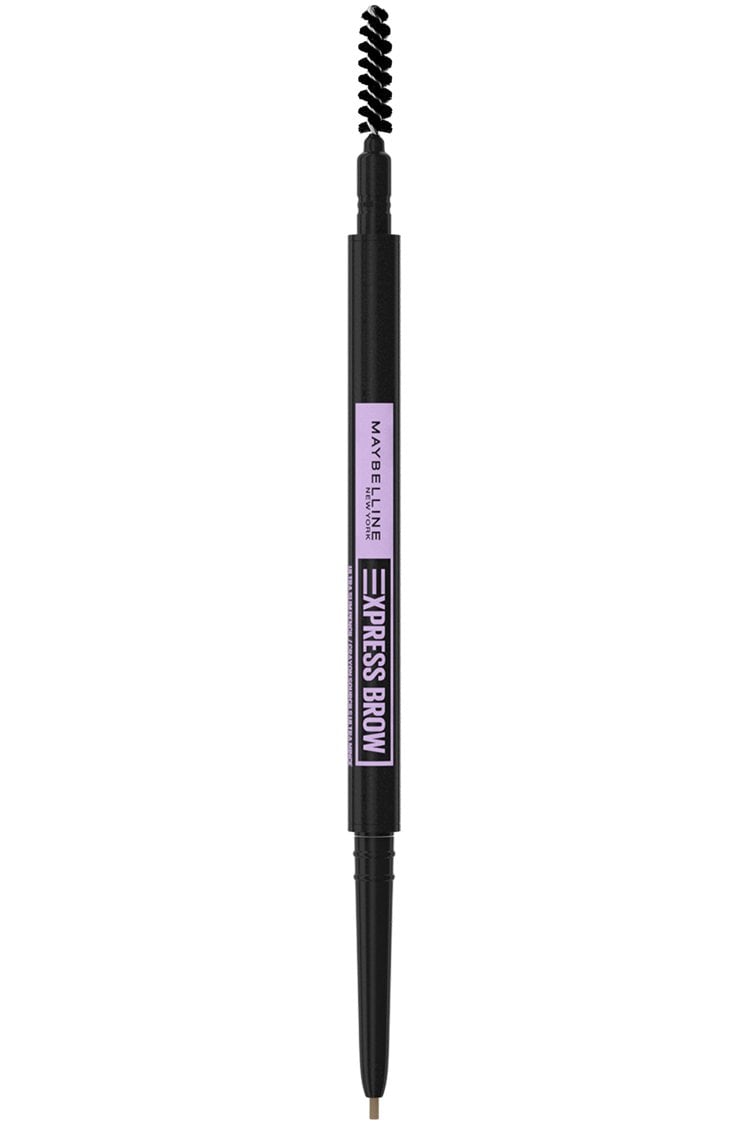
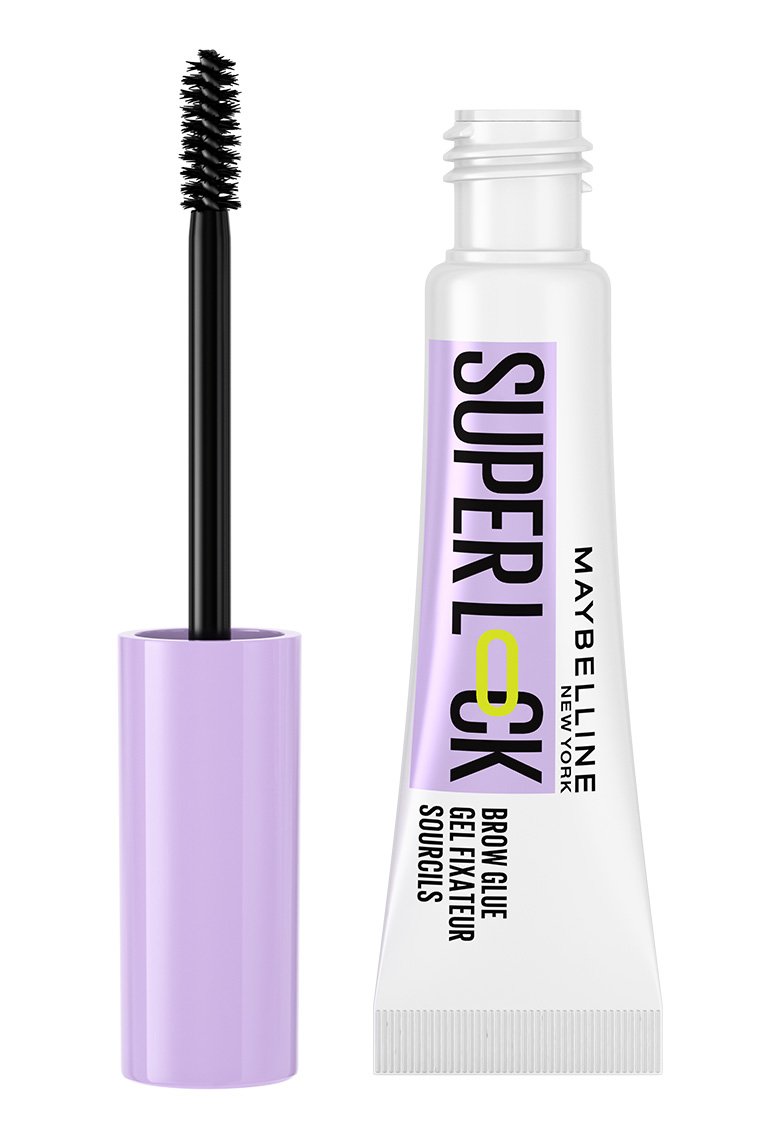
Step 3: Fluff Your Brows
- Clear
- Blonde
- Light Blonde

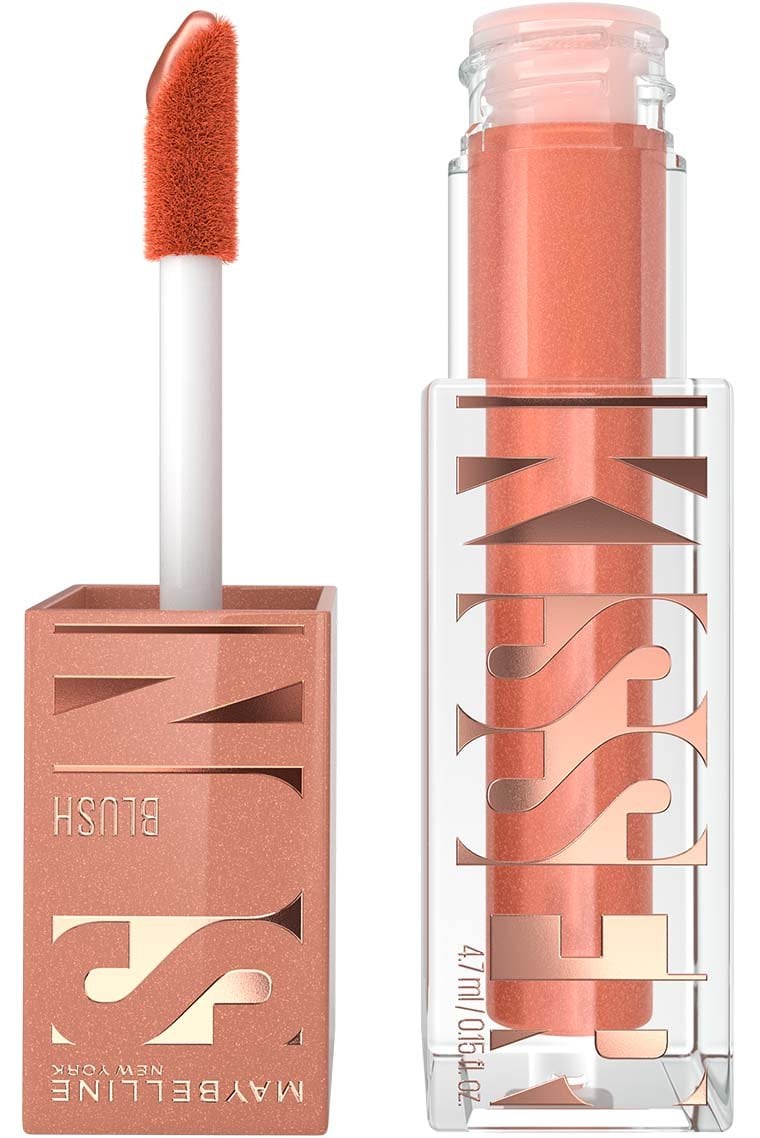
Step 4: Add a Lovely Flush & Glow to Your Face
Adding a touch of color and warmth to your face with blush and bronzer can really elevate your minimal makeup look, giving your skin a healthy and vibrant glow. Read on for tips on how to choose the right blush, bronzer, and highlighter shades as well as where to apply each.
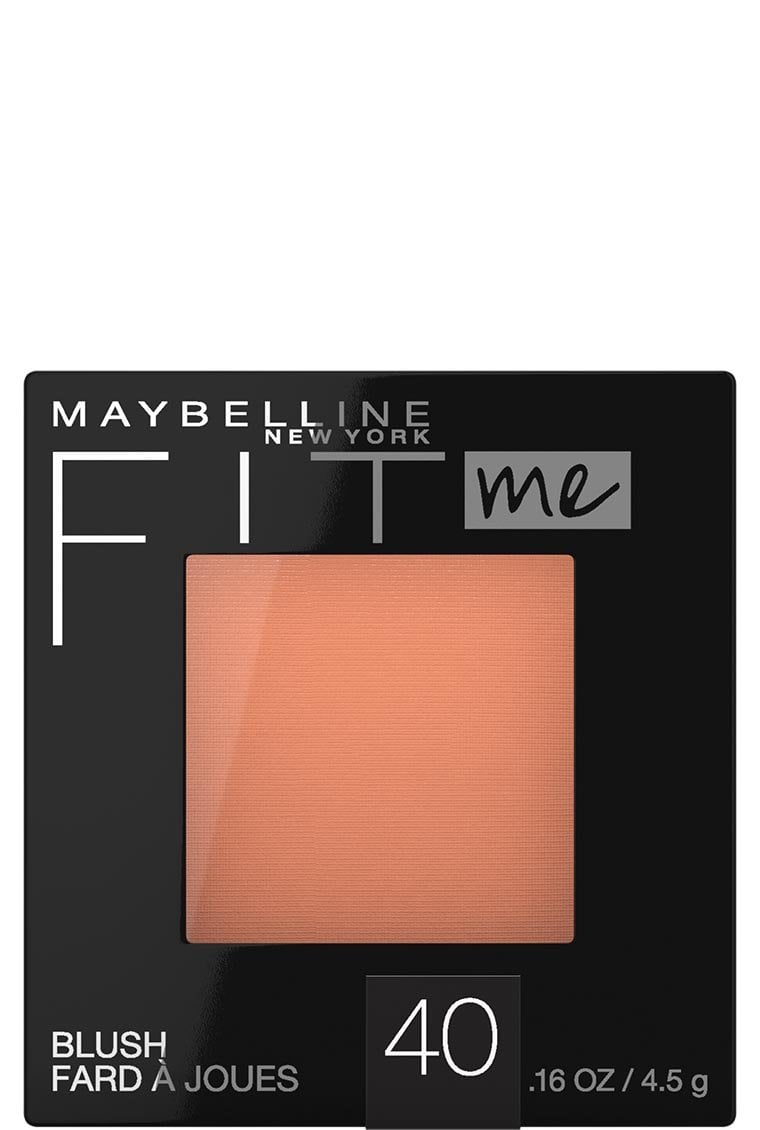
Blush Placement and Shade Selection:
•Placement: For a natural-looking flush, apply blush to the apples of your cheeks. Smile and lightly tap the blush on the round, fleshy parts, then blend out into your hairline for a lifted and youthful appearance.
•Shade Selection: The choice of blush color can vary depending on your skin tone. As a rule of thumb, choose a shade that mimics the way your skin naturally blushes when exercising. Typically, soft pinks and peaches work well on fair skin while medium skin tones can opt for rich pinks and mauves. Those with deeper skin tones look great in deep fuchsia, berry, and warm browns. We love a liquid version such as Sunkisser because it melts right into the skin for the most believable flush. If you want to up the ante and really make your cheeks pop, you can also dab some powder blush over the liquid formula– this will also ensure that your rouge lasts all day.
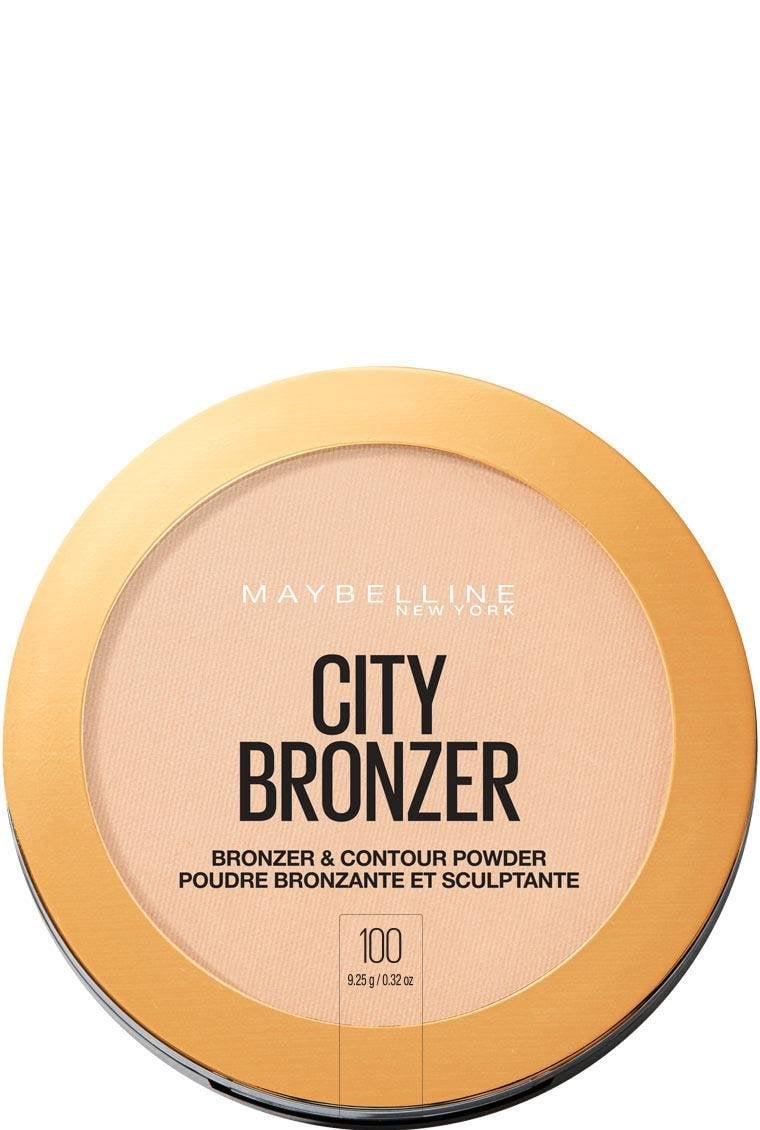
Bronzer Placement and Shade Selection:
•Placement: Bronzer should be applied to the areas of your face that naturally catch the sun. Lightly brush it across your forehead (be sure to blend into your hairline), along your cheekbones, down your nose, and on your chin to create a natural sun-kissed look.
•Shade Selection: When choosing a bronzer, go for a shade that is one or two shades darker than your natural skin tone. For fair to medium skin, golden or honey shades are ideal. For darker skin tones, deep bronze or earthy tones work best. Avoid anything too orange or too gray, as these can look unnatural. In terms of formulation, you may want to use a cream and powder formula for different areas. For instance, a powder bronzer applied in a naturally oily spot like the t-zone may be preferred over a cream formula, which can be better suited for drier spots like the cheeks.
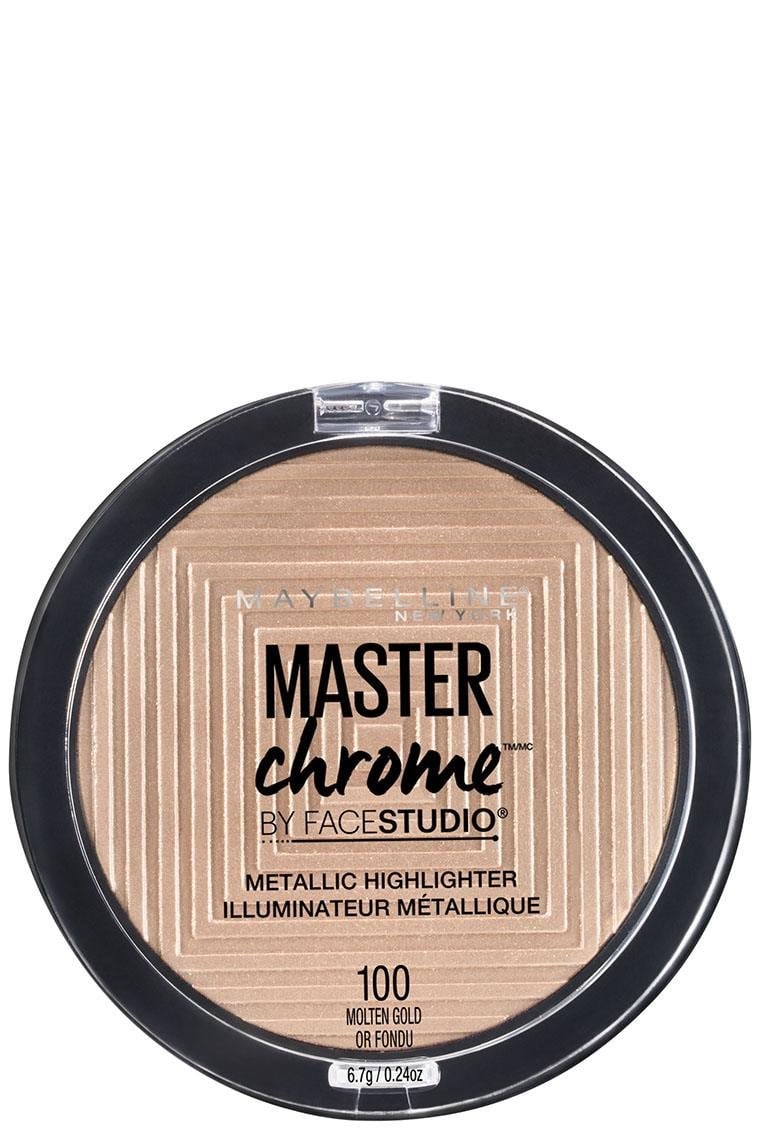
Highlighter Placement and Shade Selection:
•Placement: To add a subtle glow, apply a shimmery highlighter to the high points of your face where light naturally reflects. This includes the tops of your cheekbones, the bridge of your nose, the brow bone, and the cupid’s bow above your lip.
•Shade Selection: Choose a highlighter that complements your skin tone. For fair skin, look for pearl or champagne shades. For medium skin, golden or rose gold highlighters are most flattering, and for deeper skin tones, bronze or gold shades add a stunning warmth.
By following these placement tips and choosing the right shades, you can create a beautifully balanced look that enhances your features with just the right amount of color and glow. This approach ensures that your makeup enhances rather than overwhelms, maintaining that fresh, minimal makeup appearance.
- Sol Search
- Peach
- Light
- Molten Gold
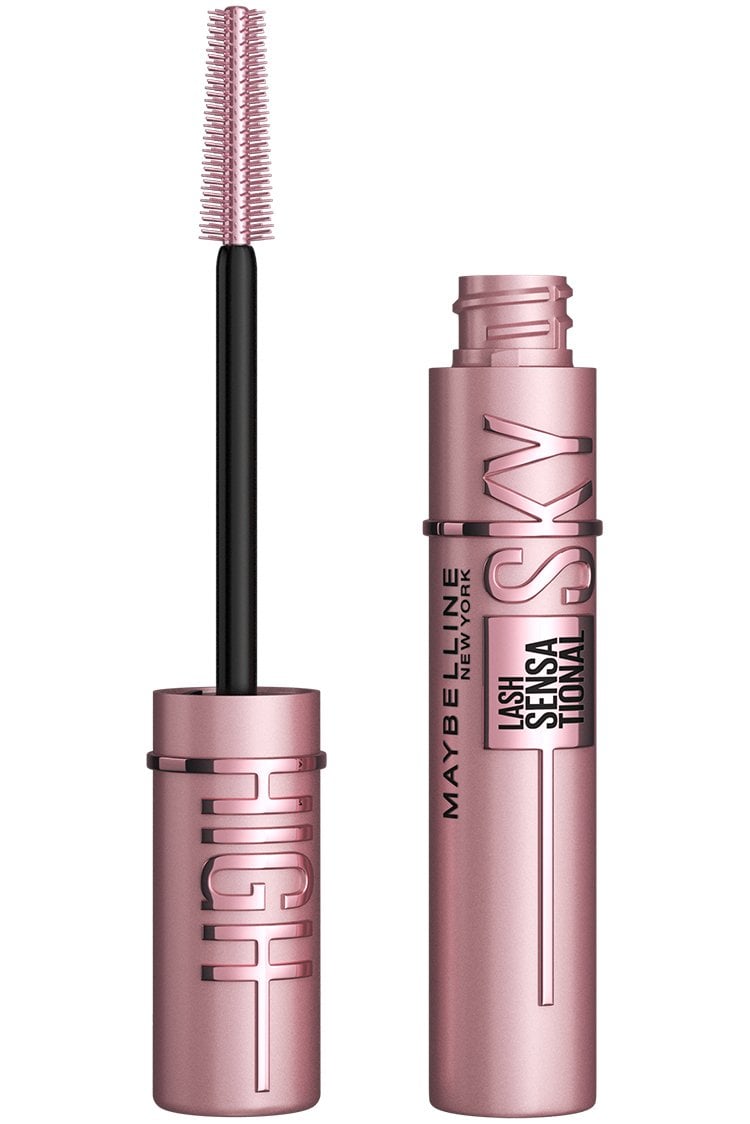
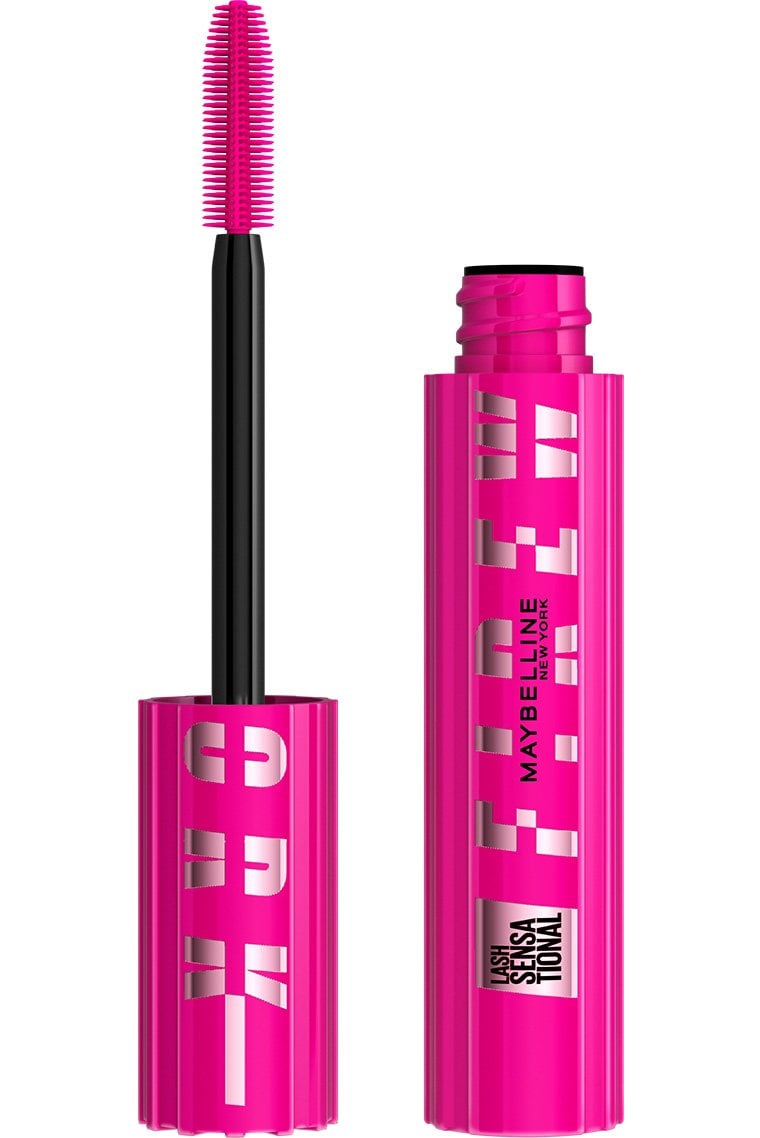
Step 5: Swipe on Some Mascara
- True Brown
- Very Black
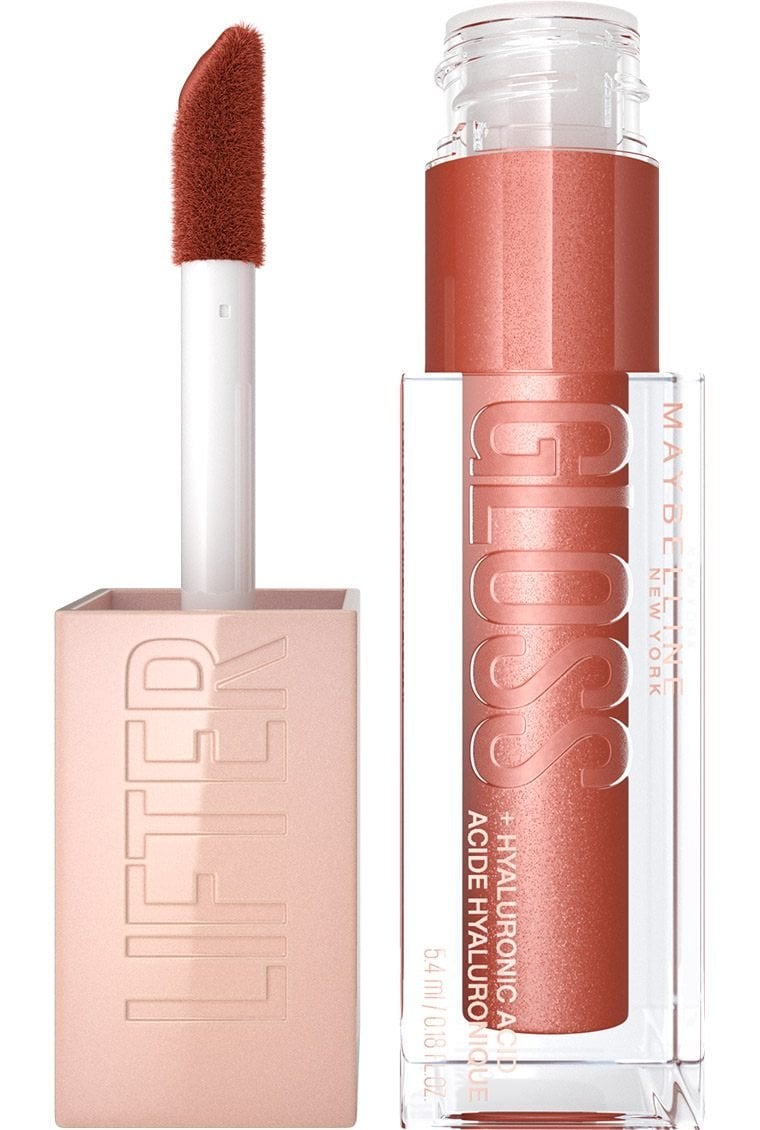
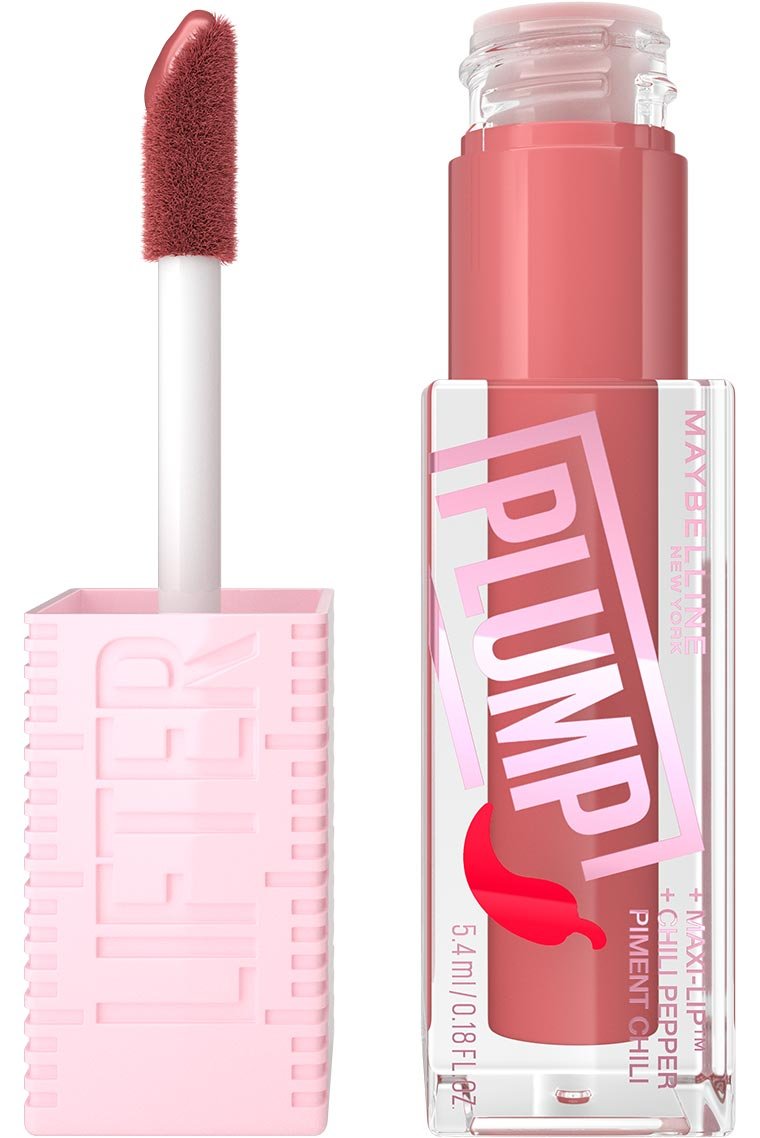
Step 6: Apply some Lipstick and Gloss
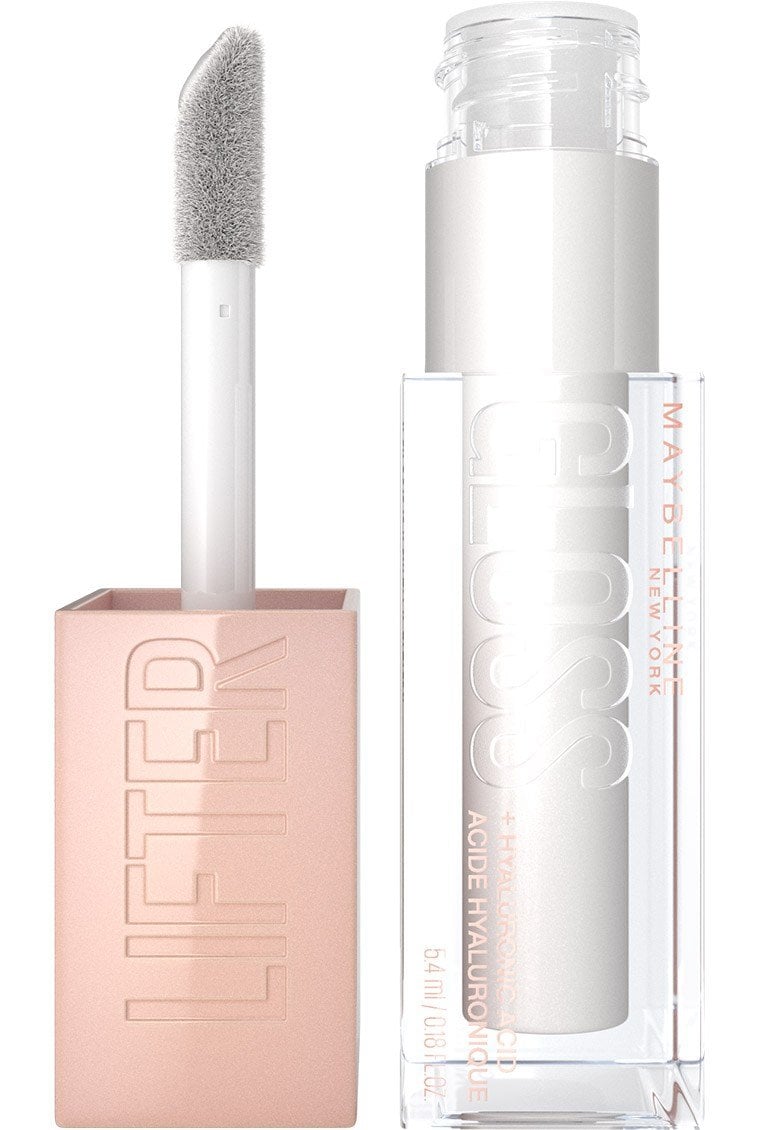
To complete your minimal makeup look, some nude lipstick is the perfect addition. Be sure to keep your skin tone in mind as you choose the shade that’s right for you–pinky nudes will flatter fairer skin tones while medium and olive skin can benefit from some peachiness. Deeper skin tones will pair best with richer tans and browns. For a shiny finish, add a gloss like our Lifter Plump Gloss, which can help lips appear fuller and more hydrated.
- Topaz
- Peach Fever
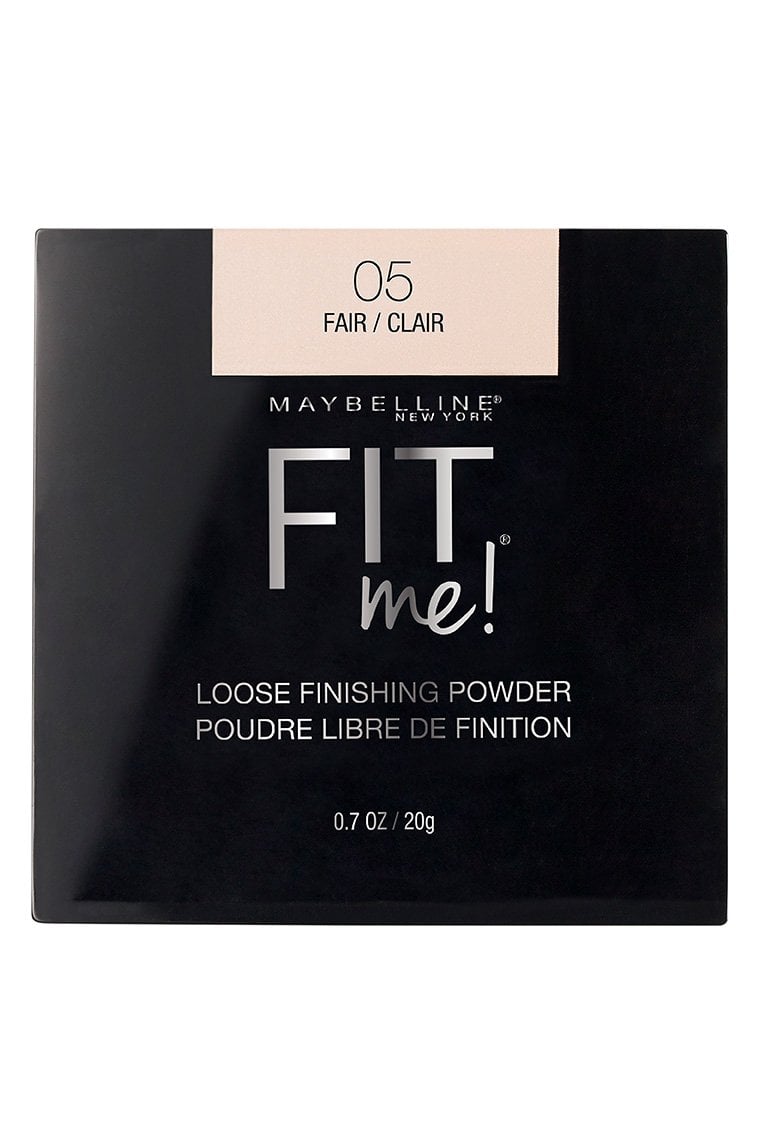
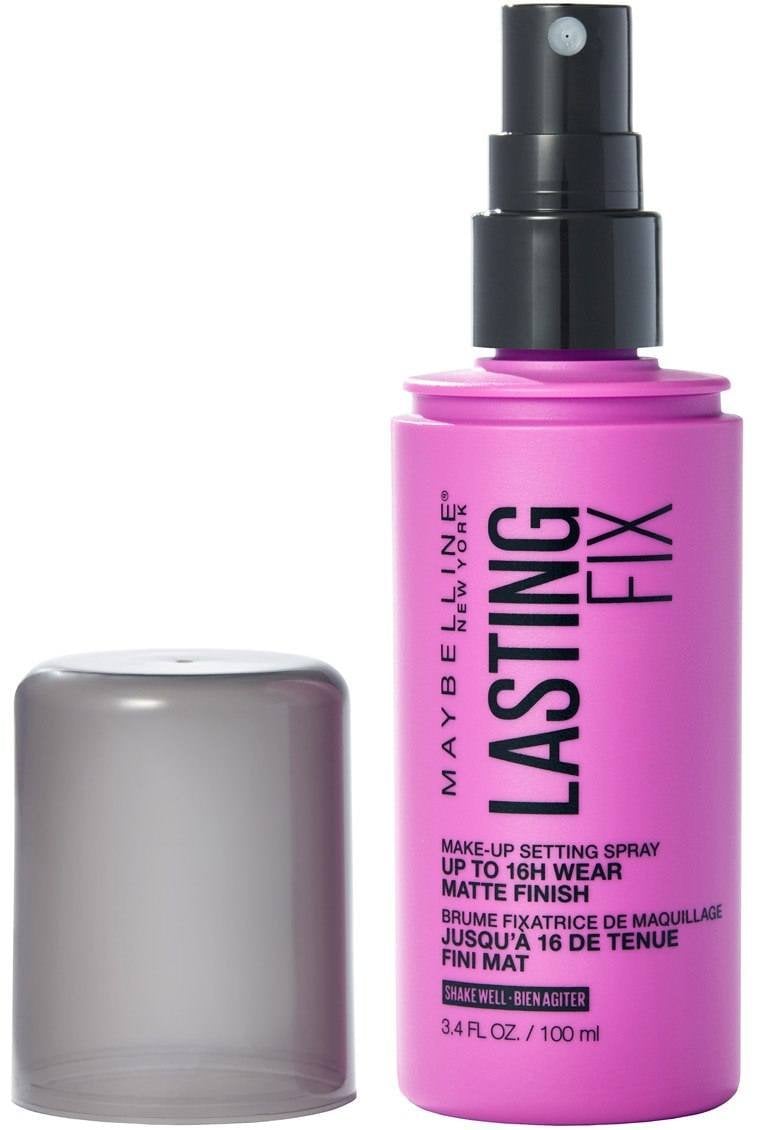
Step 7: Set Your Makeup
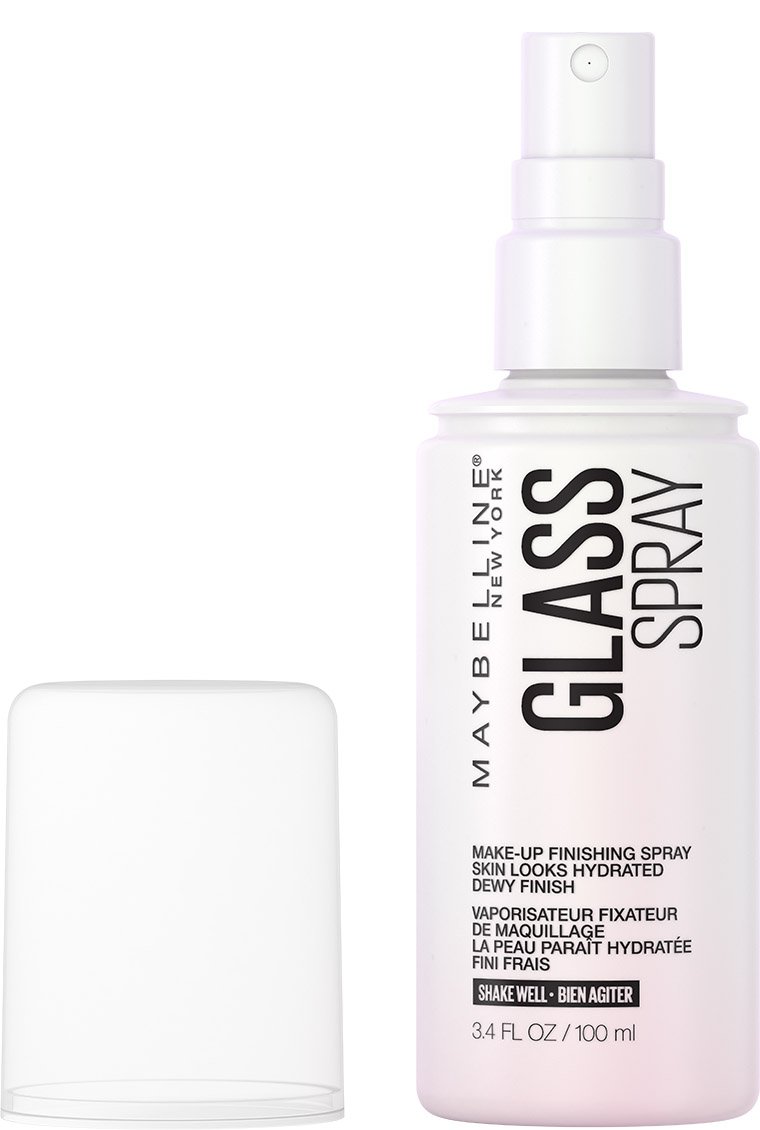
Ensuring your minimal makeup look remains flawless throughout the day requires a good setting product. Setting sprays and powders play a crucial role in maintaining the longevity and freshness of your makeup. To mattify oily skin, we love a combo of FaceStudio Lasting Fix and Fit Me Loose Finishing Powder, but for dry skin, you want something that will hydrate like FaceStudio Glass Spray and a finely milled, hydrating powder that won’t settle into fine lines or accentuate dry patches. For combination skin, consider using powder only in the spots that tend to get greasy.
- Fair
- Lasting Fix
- Glass Skin Spray