HOW TO DO BRIDESMAID MAKEUP
Weddings are a celebration of love, and as a bridesmaid, you're a key part of helping to celebrate the big day. When you’re focused on celebrating the couple, you don’t want to be worried about your bridesmaid makeup. Finding the right balance between looking your best and complementing the bride can be tricky, but fear not! This guide will provide you with all the inspiration you need for creating stunning bridesmaid makeup looks that are both elegant and long-lasting, so you can focus on the wedding while looking amazing.

Bridesmaid Makeup Tips
Before diving into a tutorial with bridesmaid makeup inspiration, let's cover some essential tips for achieving flawless makeup for bridesmaids.
Tip 1: Keep It Simple
The goal is to enhance your natural beauty, not to draw attention to your makeup with bold statement looks (unless the wedding has a unique theme!). Opt for a classic and timeless look that won't clash with the wedding theme. A simple bridesmaid makeup look is always a safe and stylish bet.Tip 2: Think About Longevity
Weddings are long events, filled with photos, dancing, and heartfelt moments. You'll want your makeup to last from the ceremony to the last dance. Choose long-wearing and waterproof makeup products and don't forget to set your makeup properly. Consider tucking a few products in your clutch for touchups if possible.Tip 3: Be Mindful of The Bride & The Theme
It's crucial to consider the bride's preferences and the overall wedding theme. Talk to the bride about her vision and adjust your makeup accordingly. Consider the color scheme and the color of your bridesmaid outfit.Tip 4: Incorporate Your Own Style
While it's important to be mindful of the bride's wishes, you should still feel like yourself. Find ways to incorporate your personal style into the look, whether it's through a pop of color or a slightly bolder eye.
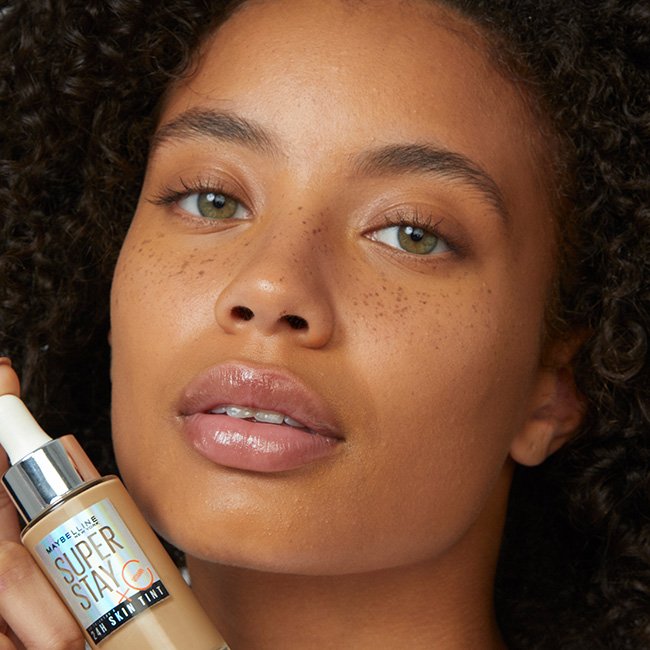
Neutral Bridesmaid
Makeup Tutorial
This step-by-step bridesmaid makeup tutorial will guide you through creating a beautiful and natural bridesmaid makeup look that's perfect for any wedding.
Step 1: Primer
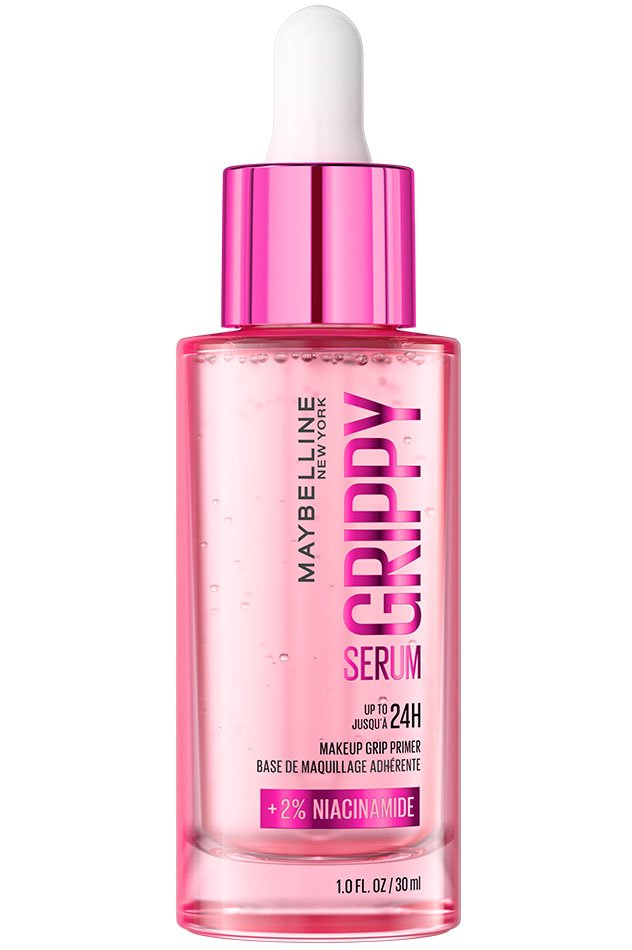
Start with a clean and moisturized face and make sure you give the moisturizer time to soak in before beginning your makeup. Apply a primer to create a smooth canvas for your makeup and help it last longer. To make sure your makeup lasts through the entire wedding, we suggest using a gripping primer such as Grippy Serum™ Up To 24HR Hydrating Grip Primer.- Clear

Step 2: Eyebrows
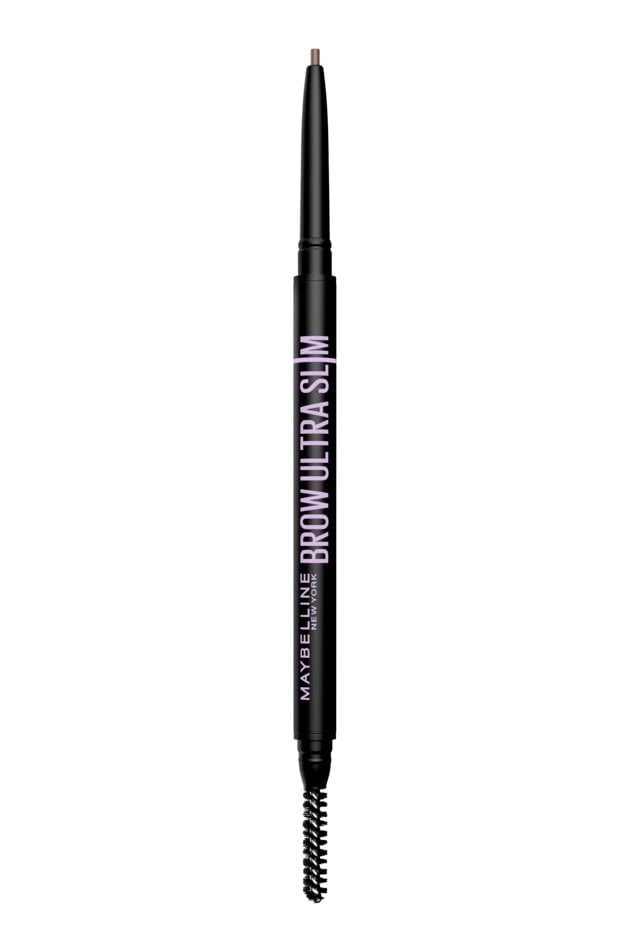
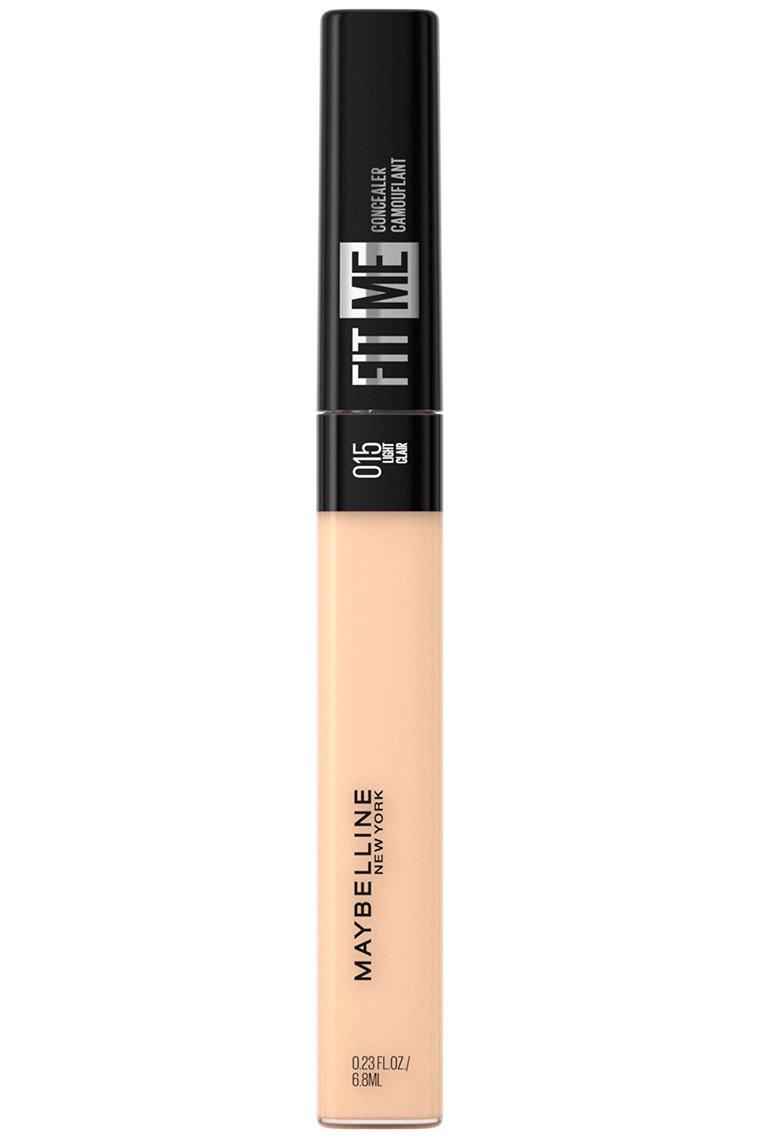
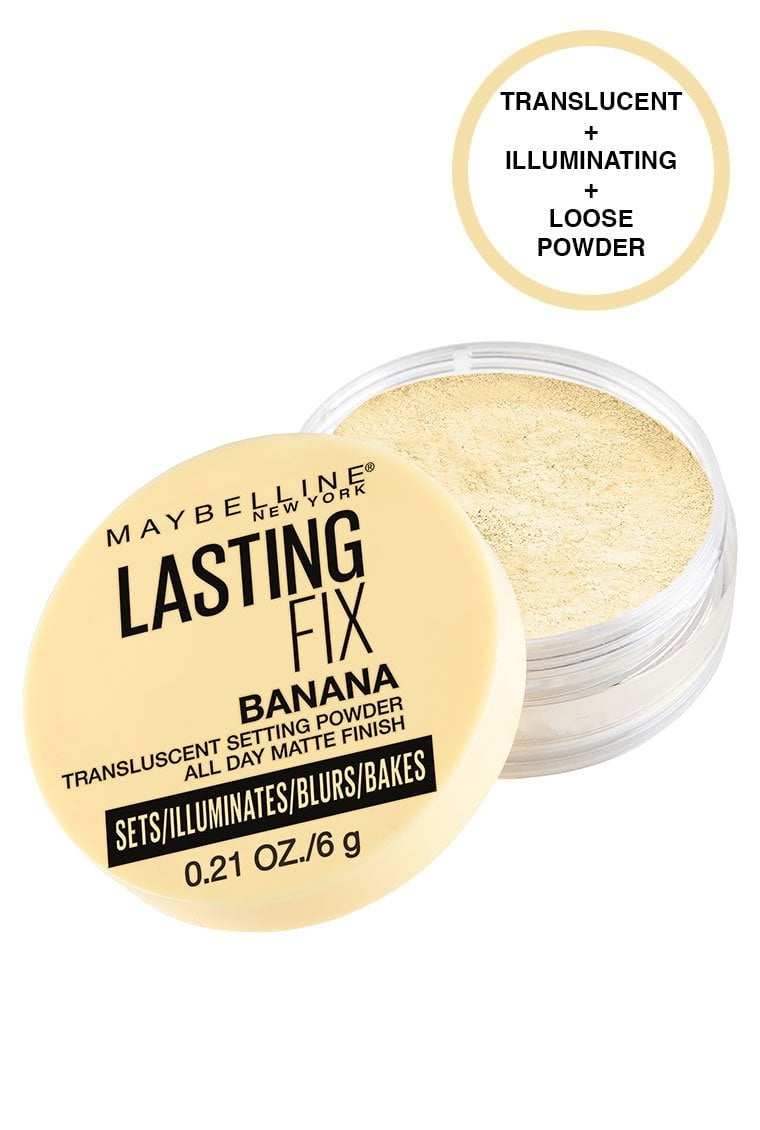
You can start by using a brow wax of your choice to brush through your brows before filling them in. If you don’t have brow wax or don’t want to use it, you can skip this step and brush through your brows with a clean spoolie to define your brow hair and identify sparse areas. Then, fill in your brows with Express Brow™ Ultra Slim Defining Eyebrow Pencil, using short, hair-like strokes. Shape your brows using the attached spoolie brush.Next, use Fit Me® Concealer to carve out your brows and then blend the concealer downward to provide a base from your eyeshadow. Set your eye makeup base with Lasting Fix® Banana Powder Loose Setting Powder.
- Medium Brown
- Light
- Banana


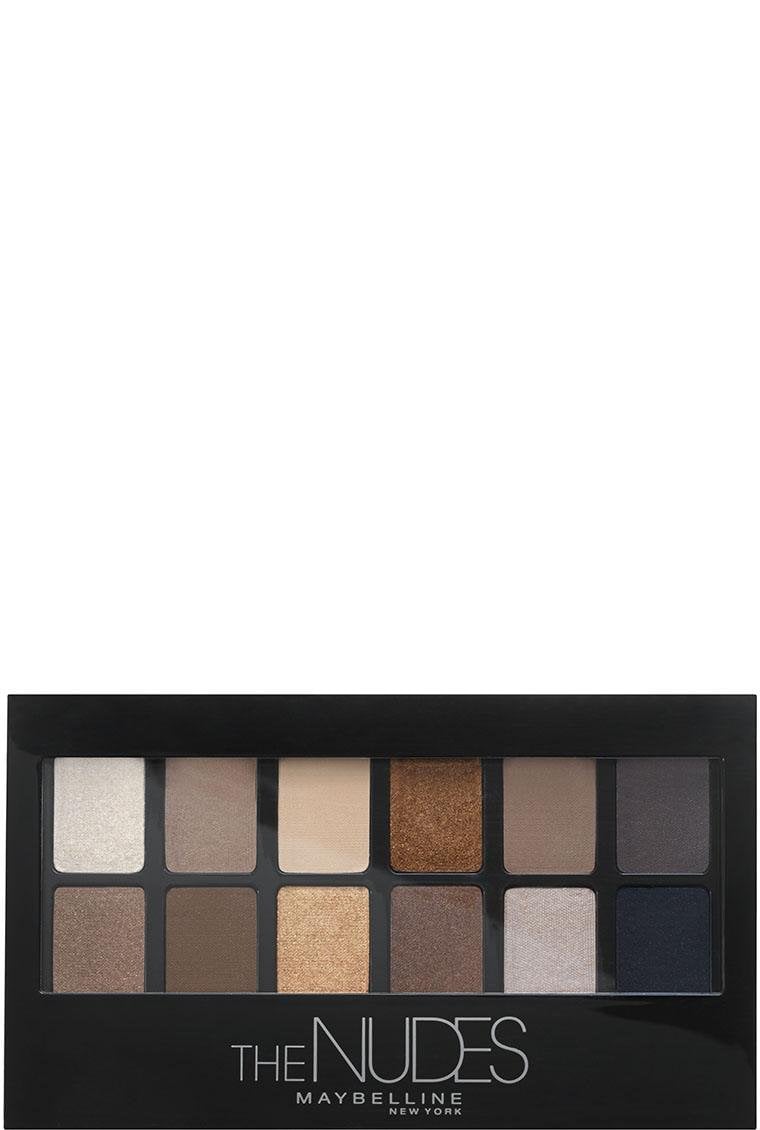
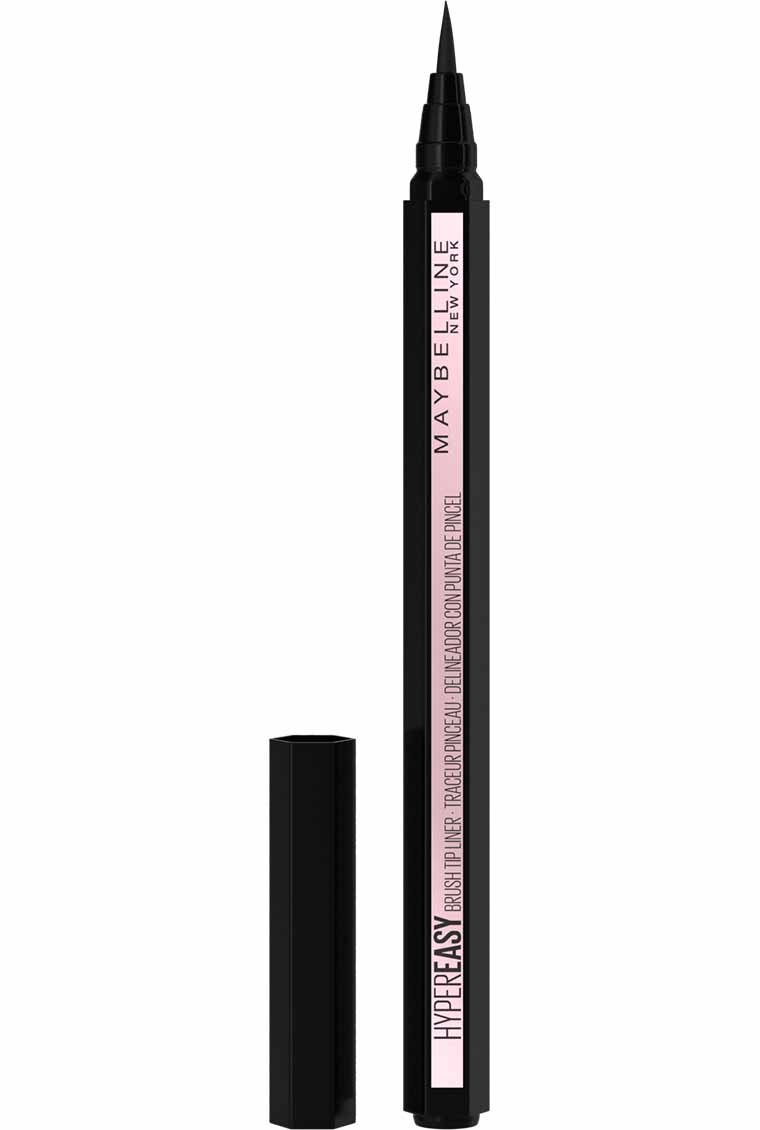
Step 3: Eyeshadow & Eyeliner
Use a neutral eyeshadow palette with matte and shimmer shades such as The Nudes Eyeshadow Palette. We want to create a neutral bridesmaid makeup look that will effortlessly complement any wedding theme! Start with a light base color all over the lid while buffing outward, then add a slightly darker shade to the outer third of the crease for dimension and blend well. Apply a bit of concealer in the middle of your eyelid with your finger and blend out. Dab a lighter shade on the middles of your eyelids to set the concealer. Using a darker color, add a smokey wing and blend out. Finally, use a shimmer shade on the inner corner of the eyes to brighten them up.For eyeliner, use Hyper Easy® Liquid Eyeliner along your upper eyelid, extending slightly past the outside of your eye for an understated wing. If you’d like, apply a bit of eyeliner in the inner corner.
- Eye Shadow Palette
- Pitch Black
Step 4: Mascara
Finish your eye look by applying a few coats of Lash Sensational Sky High® Waterproof Mascara. We highly recommend using waterproof mascara for longevity so that your wedding makeup look lasts through any happy tears and dancing.- Very Black

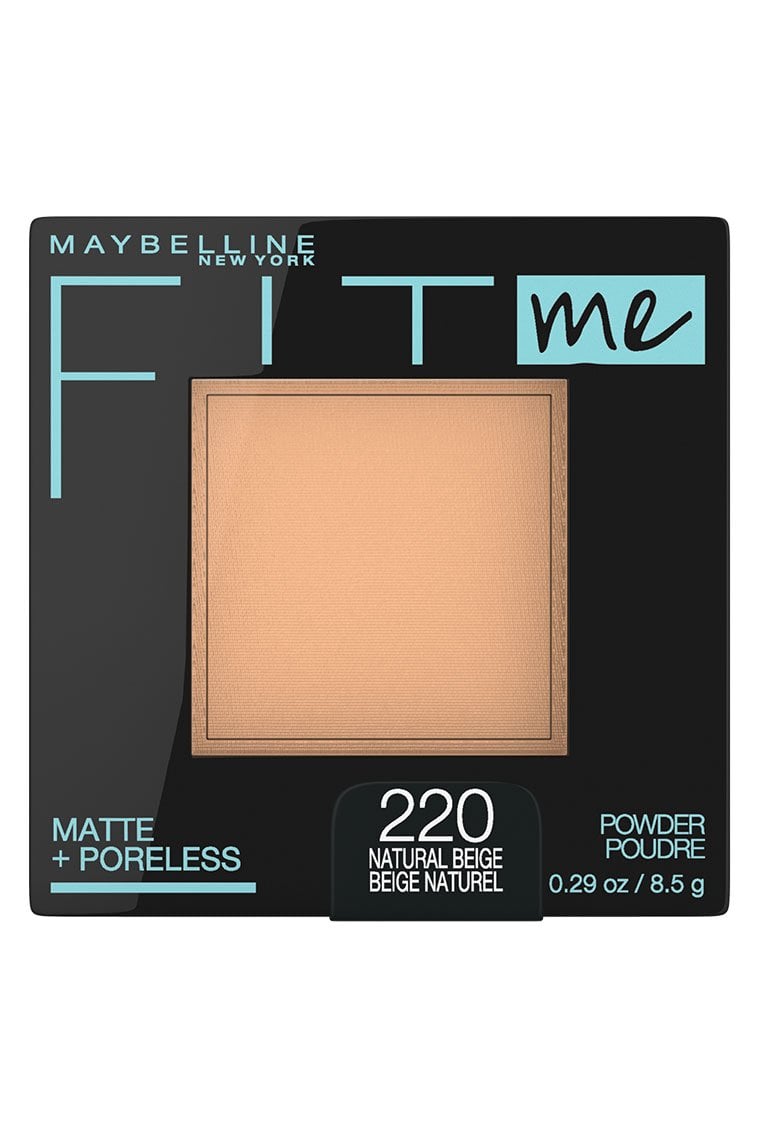
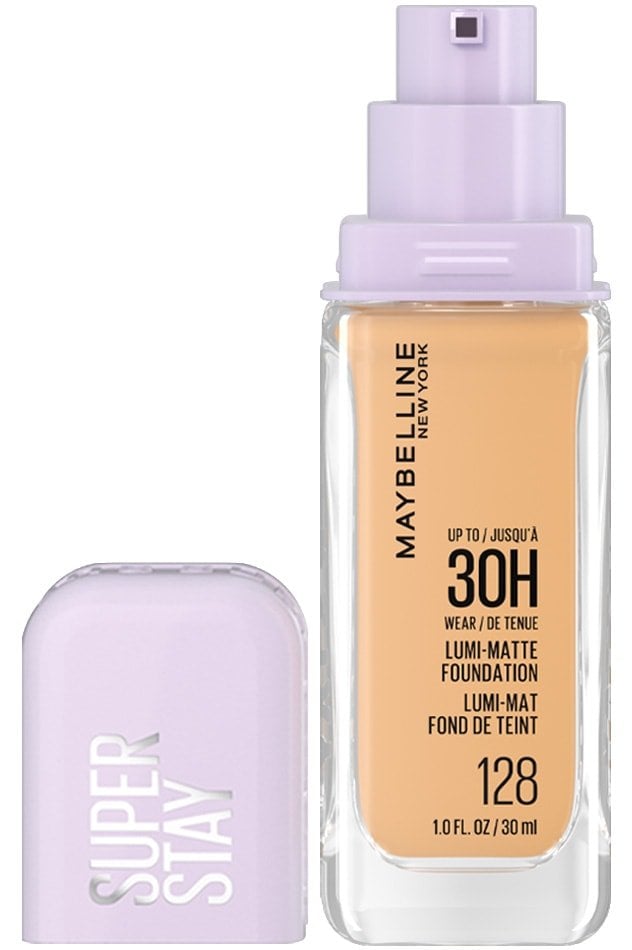
Step 5: Foundation
When it comes to foundation, choose a product that has a matte finish and won’t flashback in the cameras, since weddings are all about pictures! We recommend Fit Me® Matte + Poreless Powder Foundation to even your skin tone and prevent shine. Blend well for a seamless finish. If you prefer a slightly luminous matte finish, use our Super Stay® Lumi-Matte Foundation.Pro tip: Blend your foundation into your neck as well to avoid any harsh lines in photos!
- Natural Beige 220
- 128
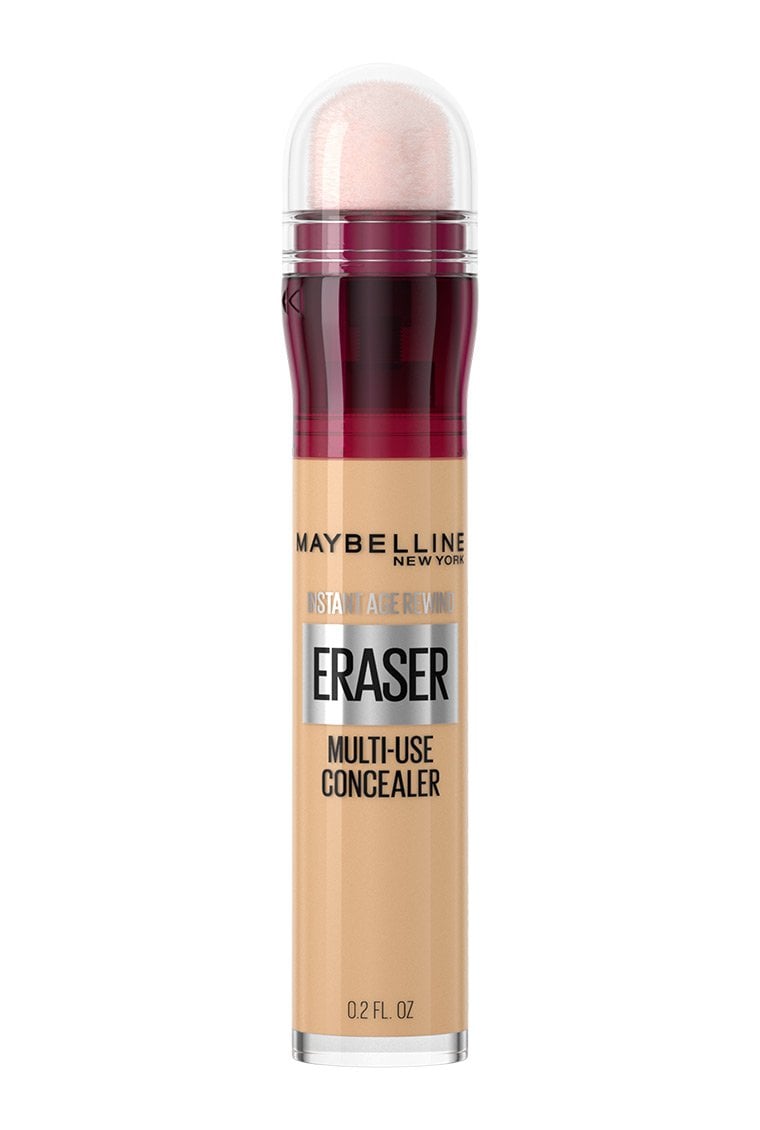
Step 6: Concealer
Use your concealer to cover any blemishes or dark circles under your eyes. Apply under eyes, to the bridge of your nose, and on your forehead between your eyes to brighten key areas of your face. Blend it well upwards with a sponge or your finger for a lifting effect.- 122
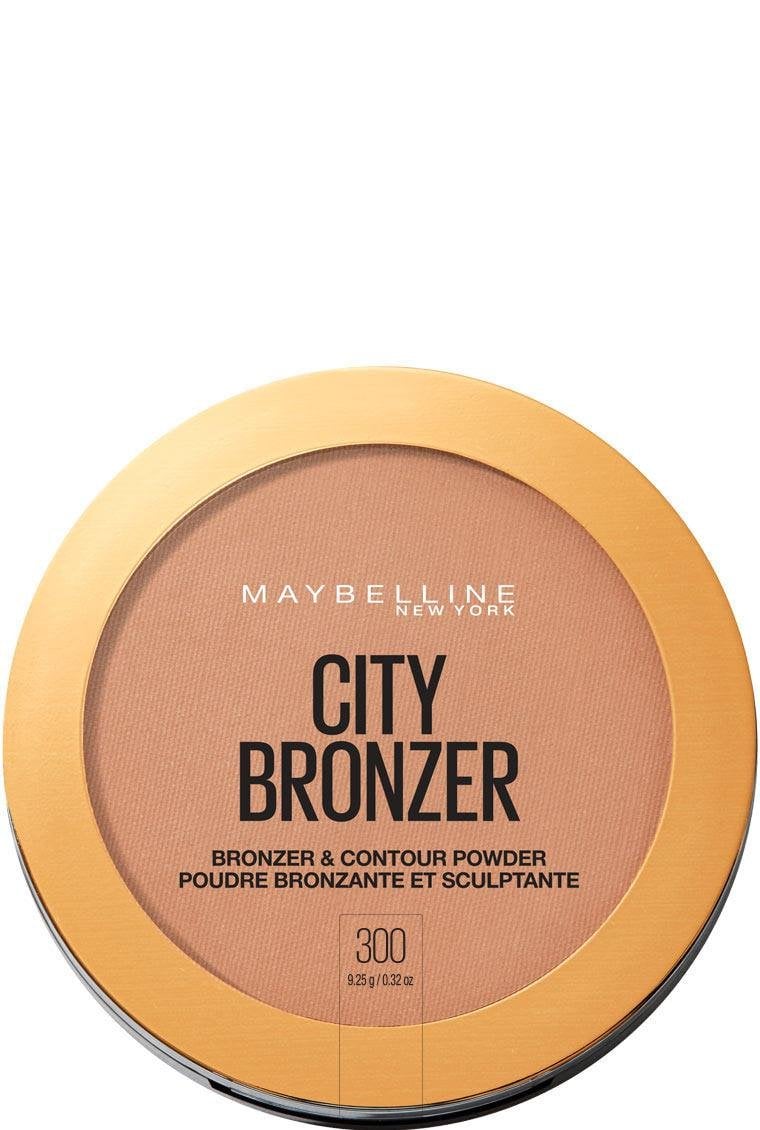
Step 7: Contour
Apply City Bronzer® Bronzer & Contour Powder to the hollows of your cheeks, temples, and jawline. Blend it well with a brush to create a natural shadow.Next, apply banana powder under your eyes, starting from your nose and applying outward, pressing into the skin. Leave it to bake for 30 seconds to a minute, then brush off the excess. This will add light to your face and help you look glowing in photos.
- Deep
- Banana
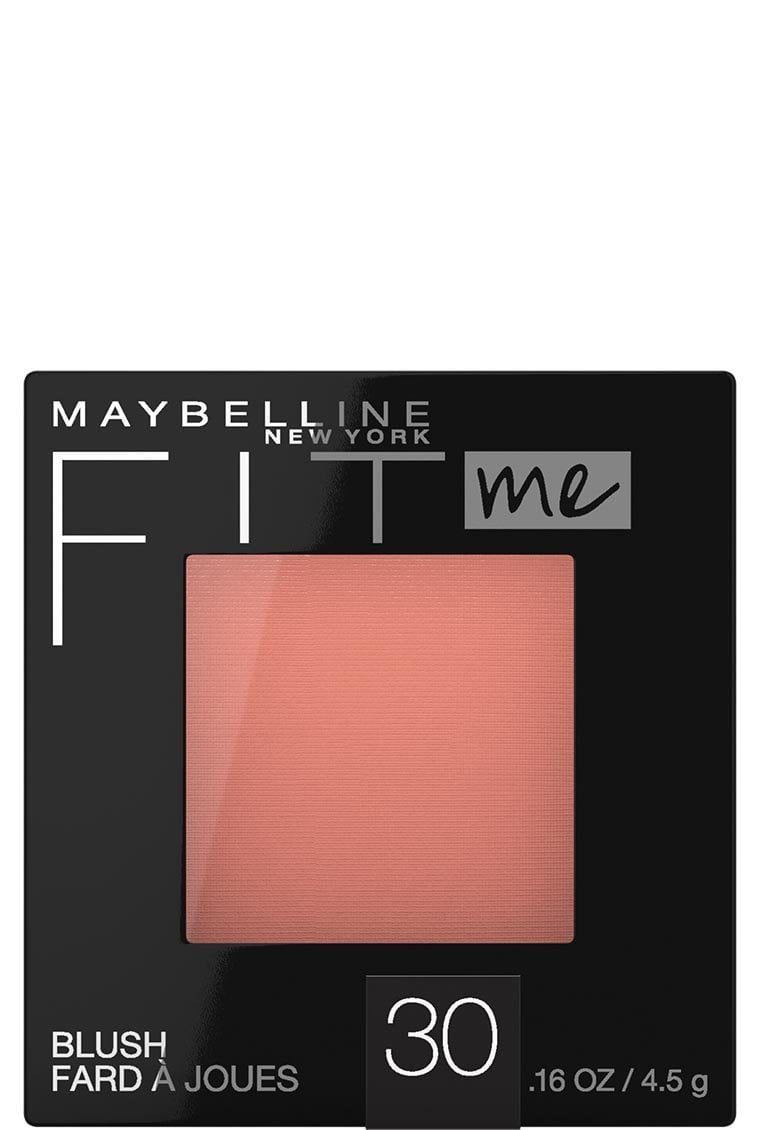
Step 8: Blush
For this look, select two Fit Me® Blush powder blush colors that go well with your natural skin tone, one lighter and one darker. Apply the lighter color of blush to the apples of your cheeks. Then, use the darker shade where you would usually place bronzer, a bit higher up and going into the hairline.- Rose
- Berry

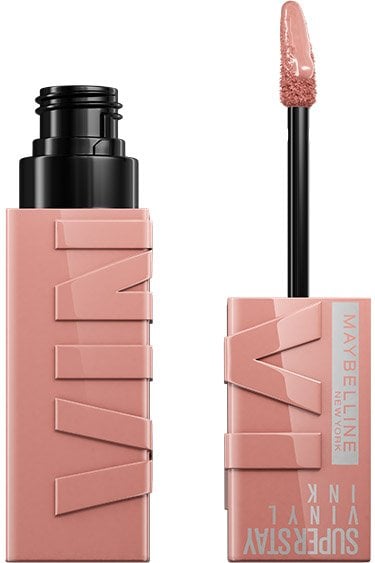
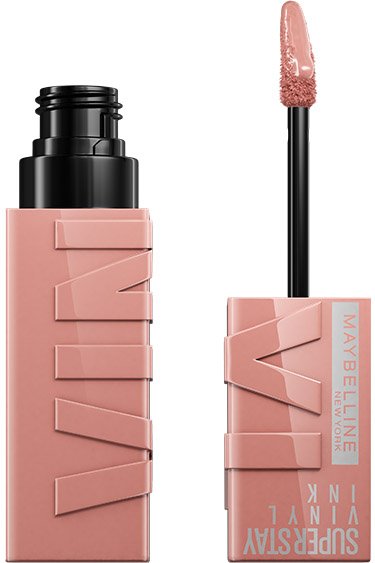
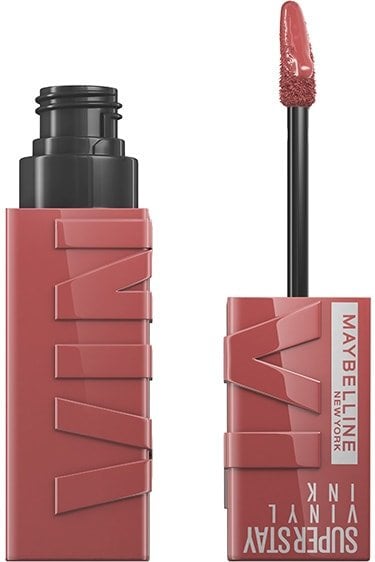
Step 9: Lips
For long-lasting lip color, we recommend Super Stay® Vinyl Ink® Longwear Liquid Lipstick. To complement your two-toned ombre blush look, choose two natural lipstick shades, one slightly darker and one slightly lighter. Apply the darker color to your lips. Then, apply the lighter color to just the center of your lips and blend out for an ombre lip look.- Captivated
- Cheeky
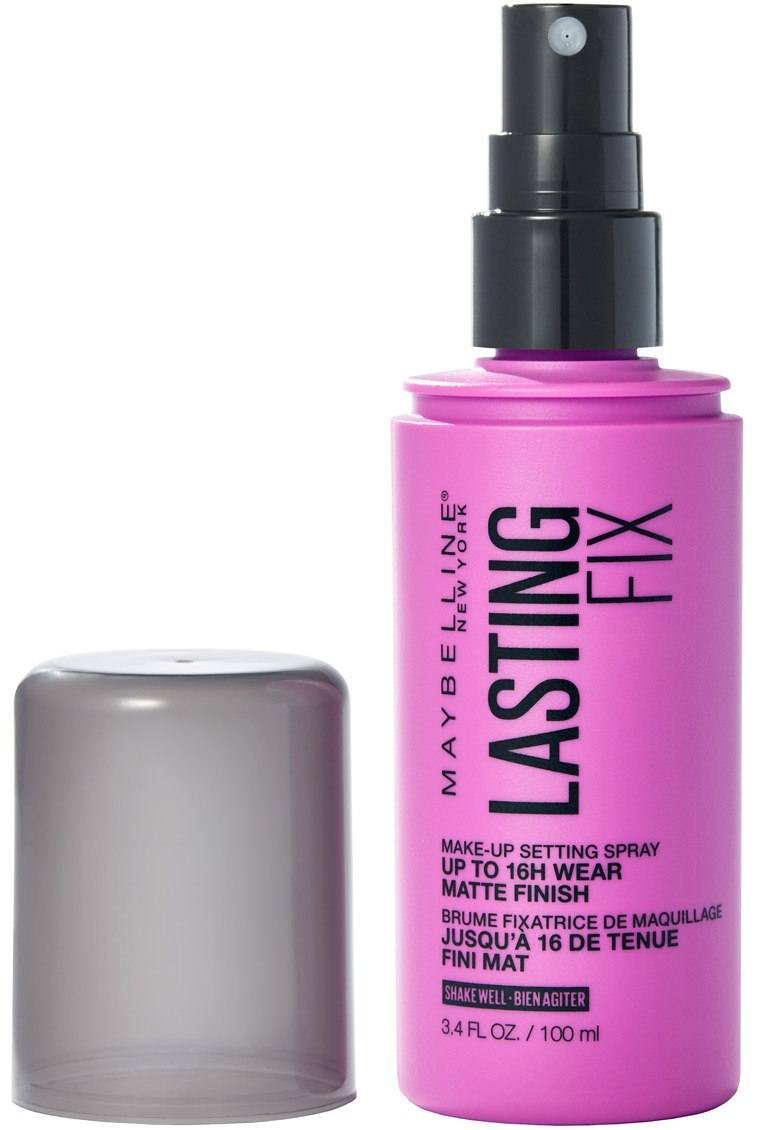
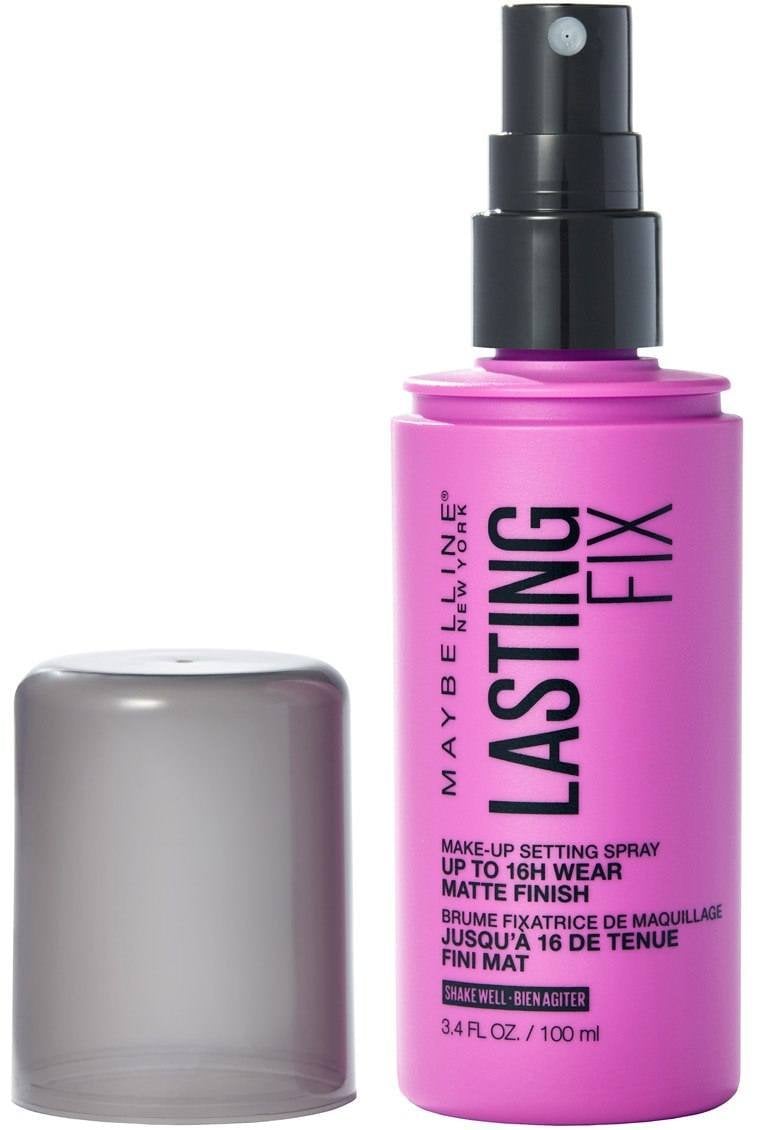
Step 10: Set & Spray
Set your makeup by finishing with a setting spray to keep your makeup looking fresh all day long. This step is important to keep your makeup in place for the entire wedding!- Lasting Fix
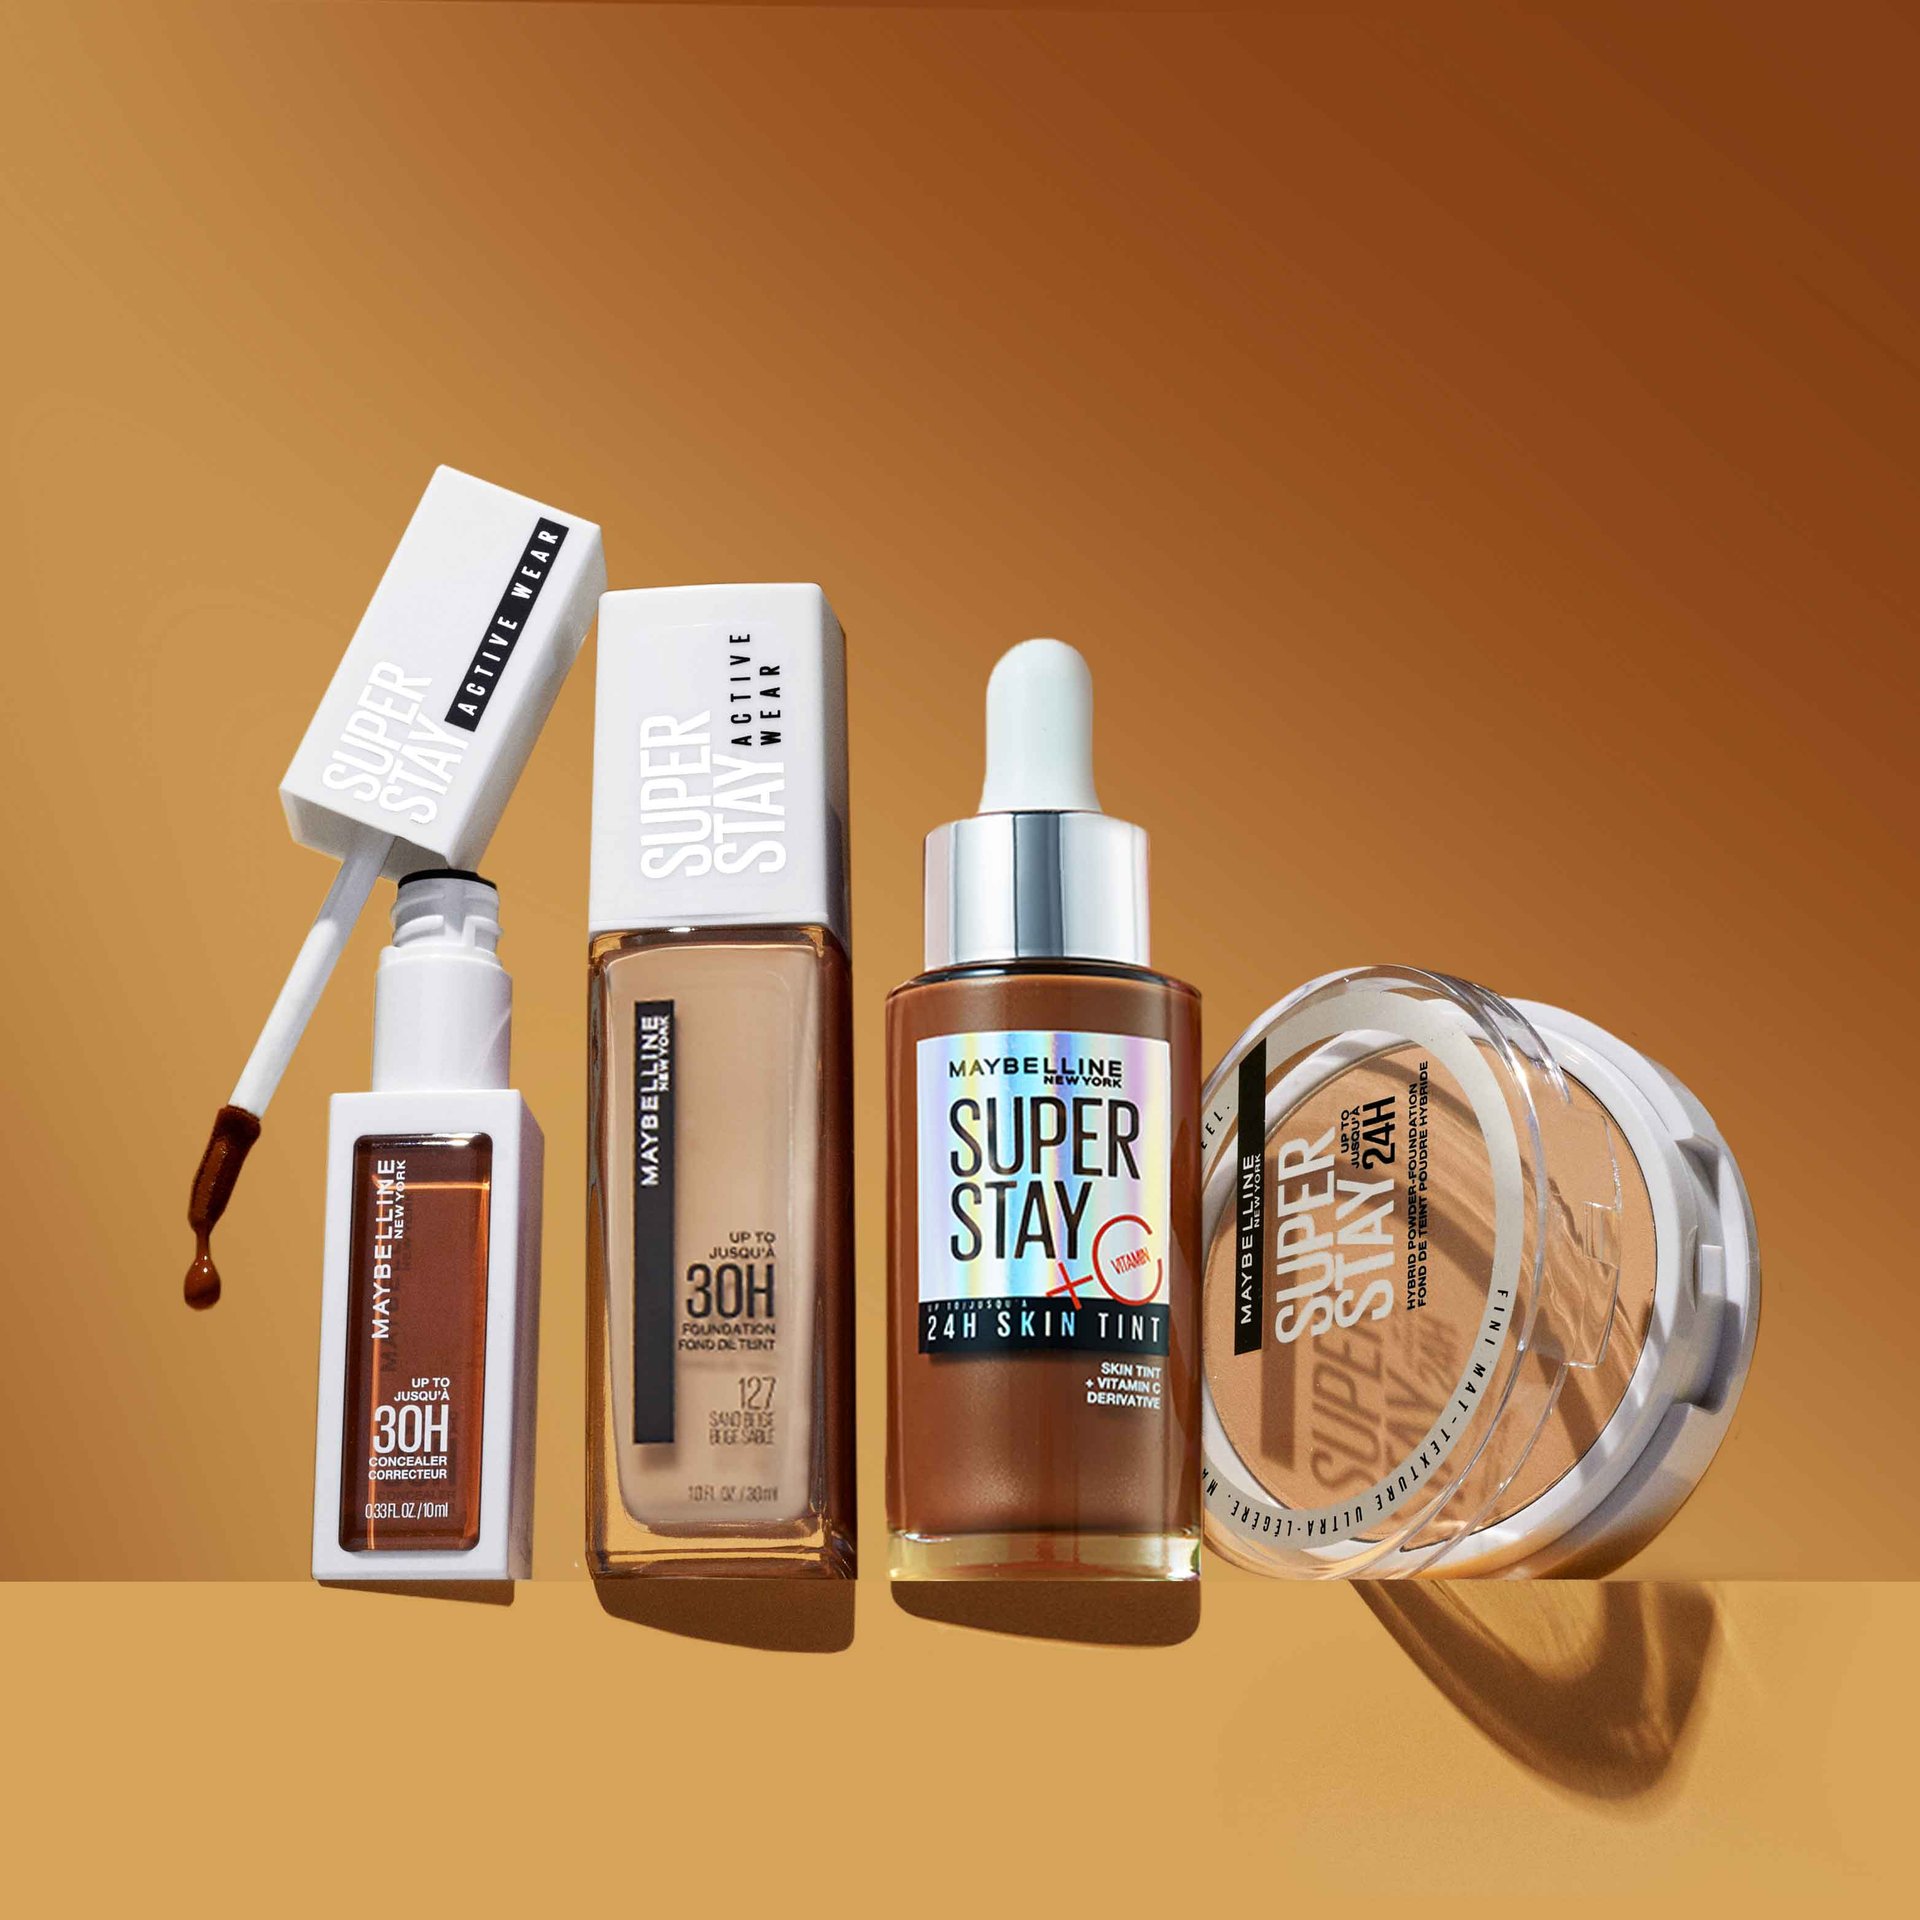
Shop Bridesmaid Makeup Products
Check out all of the products we used to create a beautiful and simple bridesmaid makeup look that has you photo ready.